Category: Helpful Finds

  • Helpful Find: Sodium-Free Ranch Mix That Makes a Great Low-Sodium Ranch That Actually Tastes Like Ranch

    Helpful Find: Sodium-Free Ranch Mix That Makes a Great Low-Sodium Ranch That Actually Tastes Like Ranch

    One of the foods I miss on a low-sodium diet is ranch dressing.

    Not because ranch is some gourmet food.

    It’s ranch.

    But it goes on everything.

    Salads.

    Vegetables.

    Chicken.

    Wraps.

    Potatoes.

    And unfortunately, most bottled ranch dressing can contain a decent amount of sodium before you even put it on anything.

    So I started looking for something I could make myself.

    That is when I found MySALT Restaurant-Style Ranch Dressing & Dip Mix.

    The thing that got my attention was simple:

    The dry mix itself contains zero sodium per serving.

    That gives me something I really like with low-sodium cooking — control.

    I can decide what goes into the finished dressing instead of starting with a bottle that already contains a bunch of sodium. The manufacturer specifically says the mix is sodium-free as packaged and can be combined with buttermilk and mayonnaise to make ranch dressing. 

    MySALT Sodium-Free Ranch Mix on Amazon

    Important: The Finished Ranch Is Not Sodium-Free

    This is worth making very clear.

    The seasoning packet is sodium-free.

    The ranch dressing I make from it is not.

    Why?

    Because I add mayonnaise and buttermilk, and both contain naturally occurring or added sodium depending on the brand.

    That means the final sodium content depends almost entirely on the ingredients you choose.

    This is one of those situations where reading labels still matters.

    If one brand of mayonnaise has considerably less sodium than another, use the lower-sodium one.

    Same with the buttermilk.

    The seasoning mix gives you a zero-sodium starting point, but it does not magically remove the sodium from everything you mix with it.

    How I Make My Low-Sodium Ranch Dressing

    This is about as simple as a recipe gets.

    Ingredients

    • 1 packet MySALT Sodium-Free Ranch Dressing & Dip Mix
    • 1 cup mayonnaise
    • 1 cup buttermilk

    Directions

    Add the mayonnaise and buttermilk to a bowl.

    Pour in the ranch seasoning.

    Whisk everything together until completely combined.

    Refrigerate it before serving so the flavors have time to come together.

    That’s it.

    You now have about 2 cups of homemade ranch dressing.

    The manufacturer also says the seasoning can be used to make a dip with sour cream, so there are a few different ways to use it beyond salad dressing. 

    Why I Like Making Ranch This Way

    The biggest advantage is that I know where the sodium is coming from.

    The mix?

    Zero.

    Then I can look at my mayonnaise label.

    Look at my buttermilk label.

    Do the math.

    That is much easier for me than buying a bottled dressing where I have no control over how much salt was added.

    And it actually tastes like ranch.

    That last part is important.

    I have tried enough low-sodium replacements that taste like somebody removed everything enjoyable from the food.

    I’m not interested in eating something just because the label says it is healthy.

    It still has to taste good.

    This does.

    You Can Adjust the Consistency Too

    Another benefit of making it yourself is that you can control how thick it is.

    If you want a thicker ranch for dipping vegetables, use a little less buttermilk.

    If you want it thinner for salads, add a little more.

    Just remember that changing the amount of buttermilk also changes the sodium content of the finished dressing.

    Again, read the label.

    Don’t Forget Portion Size

    There is another trap with ranch.

    You make something considerably lower in sodium and suddenly think:

    Great. I can use as much as I want.

    Not exactly.

    Mayonnaise and buttermilk still contribute sodium, calories, and fat.

    And ranch is really easy to pour.

    A little becomes a lot very quickly.

    So even though this gives me much more control than bottled ranch, I still pay attention to how much I use.

    Low sodium does not mean unlimited.

    More Than Salad Dressing

    The manufacturer also suggests using the dry ranch mix as a seasoning on foods such as meats and potatoes. 

    That opens up a lot of possibilities.

    You could try it on:

    • Chicken
    • Potatoes
    • Vegetables
    • Burgers
    • Sandwiches
    • Wraps

    Because the seasoning itself starts with zero sodium, you can add ranch flavor without automatically adding the salt found in many traditional ranch seasoning packets.

    That is probably where I’ll experiment with it next.

    Helpful Find Verdict

    For me, this one is definitely a Helpful Find.

    It solves a real problem.

    I wanted ranch.

    I didn’t want all the sodium that often comes with ranch.

    This gives me a sodium-free seasoning base and lets me control the rest of the recipe myself.

    Is the finished dressing sodium-free?

    No.

    But it doesn’t need to be.

    The goal for me isn’t always zero sodium.

    The goal is knowing what I’m eating and being able to make choices that fit the plan my medical team gave me.

    And this makes that a lot easier.

    Affiliate Disclosure

    This article contains an affiliate link. If you purchase something through the link, I may receive a small commission at no additional cost to you. I only share products that I personally use or think may be helpful.

    Medical & Nutrition Disclaimer

    This article reflects my personal experience managing sodium intake and chronic health conditions. It is provided for informational purposes only and is not medical or nutritional advice. Sodium needs vary depending on medical conditions, medications, kidney function, blood pressure, and individual treatment plans. Always read nutrition labels, calculate values based on the products you actually use, and follow the dietary guidance provided by your own qualified healthcare professionals.

  • Social Media and Chronic Illness: Finding Support Without Getting Lost in the Noise

    Social Media and Chronic Illness: Finding Support Without Getting Lost in the Noise

    When I was in the hospital and found out I had congestive heart failure, I knew something wasn’t right.

    I didn’t feel good. I was having chest pains. My blood pressure was high. I already knew I had aortic stenosis and was waiting to be scheduled for surgery to replace my aortic valve.

    At the time, I thought the two things went together pretty simply.

    My valve was bad. They would replace the valve. I would recover. Then I would be fine.

    Well, apparently I misunderstood part of that conversation.

    The heart failure wasn’t necessarily going away.

    I have HFpEF — heart failure with preserved ejection fraction — and it took me about three months after having my heart valve replaced to fully understand that this was something I was going to have to manage going forward.

    That realization changes things.

    The First Thing You Do Is Google It

    Fast-forward a little bit and, like most people who suddenly find themselves diagnosed with something serious, I started reading.

    And reading.

    And reading.

    You Google congestive heart failure and eventually ask the question everyone is probably afraid to ask:

    How long am I going to live?

    Then you see statistics saying things like half of people with heart failure die within five years.

    Well, shit.

    Those aren’t exactly comforting odds when you are sitting there trying to figure out what just happened to your life.

    But statistics need context. Heart failure affects a huge range of people with different types of heart failure, different ages, different health conditions and different levels of disease.

    A statistic doesn’t know me.

    So I started trying to learn specifically about HFpEF: what it is, how people manage it and what living with it actually looks like.

    There is certainly no shortage of information online.

    There are thousands of pages from hospitals, government agencies, heart foundations, pharmaceutical companies, doctors and researchers.

    Much of that information is incredibly valuable.

    But I wanted something else too.

    I wanted to hear from people living with it.

    I wanted someone to talk about chronic illness in language I understood.

    Where Are the Regular People?

    I started searching websites and blogs for personal experiences.

    What surprised me was how difficult those could be to find.

    Most of the results took me right back to hospital websites, medical organizations, pharmaceutical companies and foundations.

    There wasn’t nearly as much from the person sitting at home trying to figure out:

    What does my life look like now?

    That’s one of the reasons I eventually started He’s Knocking on My Door.

    I’m not a medical organization.

    I’m just someone living through this stuff and trying to make sense of it.

    Then I Found the Facebook Groups

    Eventually I started looking through Facebook.

    And as everyone who has spent more than five minutes on Facebook knows, there is some good stuff there and there is some absolute garbage.

    I’ve tried quite a few groups. These are some of the ones I’ve continued to follow:

    There are tons more.

    These are simply the ones I’ve tried and, for one reason or another, continued reading.

    Hearing Other People’s Stories Helps

    My experience with the illness-specific support groups has generally been positive.

    Most people genuinely seem to care.

    Everyone is there because either they or somebody they love is dealing with an illness. People understand fear, uncertainty and frustration because they have experienced some version of it themselves.

    Sometimes you just need to hear somebody say:

    I’ve been there too.

    Those groups contain thousands of stories.

    Someone talks about being exhausted.

    Someone talks about swelling.

    Someone talks about being afraid before valve surgery.

    Someone talks about adjusting to medication.

    Someone talks about having a good day after weeks of bad ones.

    I read their experiences and sometimes see pieces of my own situation in them.

    I’m not looking for a cure from Facebook.

    I’m trying to understand the journey.

    There is a difference.

    The Dangerous Part: Everybody Becomes a Doctor

    There is also a problem with medical support groups.

    People want to help.

    Sometimes they want to help a little too much.

    You mention a symptom and suddenly people are telling you which medication you should take, which medication you should stop taking, which supplement cured their problem or what your doctor should be doing.

    That’s where you need to be careful.

    Your medical team should be the people giving you medical advice.

    What works for one person may be completely inappropriate or even dangerous for somebody else.

    The person answering your Facebook post doesn’t know your medical history, medications, kidney function, blood pressure, lab results or the hundred other things your doctors may be considering.

    I didn’t join these groups looking for strangers to treat me.

    I joined because I wanted to hear how other people were living with their conditions.

    That can be incredibly valuable.

    Medical advice from strangers?

    Not so much.

    Then There Are the Food Groups

    The food groups have been a completely different experience for me.

    I’m sure the overwhelming majority of people in them are perfectly nice.

    Unfortunately, sometimes the internet trolls are considerably louder than everybody else.

    When you’re dealing with heart failure and trying to completely change how you eat, you’re already overwhelmed.

    I’m trying to find low-sodium food that doesn’t suck.

    That’s challenging enough.

    I don’t need to post something I’m eating and have somebody tell me I’m doing everything wrong because their idea of the perfect heart-healthy diet is different from mine.

    I’ve tried several food groups and eventually left many of them.

    There can be useful information buried in there, but sometimes the negativity isn’t worth digging through.

    Chronic illness already consumes enough mental energy.

    I don’t need Facebook taking the rest.

    Podcasts, TikTok and Everything Else

    I’ve also listened to some very good podcasts about chronic illness and heart disease.

    Most of the ones I’ve found are produced by doctors, hospitals or other medical professionals.

    Again, that’s valuable information.

    What seems much harder to find are podcasts from average people simply talking about what it is like to live with these conditions every day.

    I understand why.

    Creating a podcast, website or regular video content takes a lot of work.

    I’ve seen some chronic illness content on TikTok too. A lot of it seems centered around weight loss, exercise or individual pieces of someone’s health journey.

    But I still haven’t found nearly as many people simply saying:

    Here’s what happened to me. Here’s what I’m dealing with. Here’s what worked for me. Here’s what didn’t. Here’s what today was like.

    That’s part of what I’m trying to do here.

    This Website Is Part of How I Cope

    He’s Knocking on My Door started partly because I couldn’t find exactly what I was looking for.

    I wanted the patient side of the story.

    Not another definition of HFpEF.

    Not another diagram of the heart.

    Not another medical paper that requires me to look up every third word.

    I wanted to know how people live with this stuff.

    How do you deal with the fatigue?

    How do you change your diet?

    How do you handle the fear?

    How do you adjust when you can’t physically do everything you used to do?

    How do you deal with family and friends who don’t completely understand?

    How do you keep living your life when chronic illness suddenly becomes part of it?

    Writing about those things has become a coping mechanism for me.

    If somebody else happens to find something helpful in my experience along the way, even better.

    Social Media Isn’t Medicine — But It Can Still Help

    There is an incredible amount of chronic illness information on social media.

    Some of it is helpful.

    Some of it is wrong.

    Some of it is supportive.

    Some of it will scare the hell out of you.

    And some of it should probably never have been posted in the first place.

    You have to learn to separate someone sharing their experience from someone giving you medical advice.

    Those are two very different things.

    I would never recommend changing medication, treatment, diet restrictions or anything else medically significant because somebody in a Facebook group told you to.

    That’s a conversation for your medical team.

    But I absolutely believe there is value in hearing other people’s stories.

    Sometimes those stories help you understand what questions to ask.

    Sometimes they help you realize that something you’re experiencing isn’t unique to you.

    Sometimes they help set realistic expectations.

    And sometimes they simply make you feel a little less alone.

    When you’re suddenly living with a chronic illness, that can matter more than people realize.

    Use social media as a place to listen, learn and connect. Just don’t confuse the person sitting behind a keyboard with the doctor sitting across from you.

    Disclaimer: This article is based on my personal experiences and observations while living with chronic illness. The Facebook groups, websites, podcasts, and other resources mentioned are shared for informational and community-support purposes only. I am not endorsing any medical advice, treatment, product, or recommendation made by members of these groups. Always discuss symptoms, medications, treatments, diet changes, and other medical decisions with your own healthcare team. Online support can be helpful, but it should never replace professional medical care.

  • Helpful Find: This Little Shredder Makes Meal Prep So Much Easier

    Helpful Find: This Little Shredder Makes Meal Prep So Much Easier

    There are some kitchen gadgets you buy, use once, and then they disappear into a cabinet for the next five years.

    This isn’t one of those.

    We use this food shredder all the time.

    Chicken.

    Pork.

    Fresh tuna.

    If I need something shredded, there’s a pretty good chance this thing is coming out.

    See the shredder on Amazon

    Could I accomplish the same thing with two forks?

    Absolutely.

    Do I want to sit there pulling apart a pile of chicken with two forks when this thing can do it considerably faster?

    Absolutely not.

    What Is It?

    It’s a pretty simple kitchen gadget.

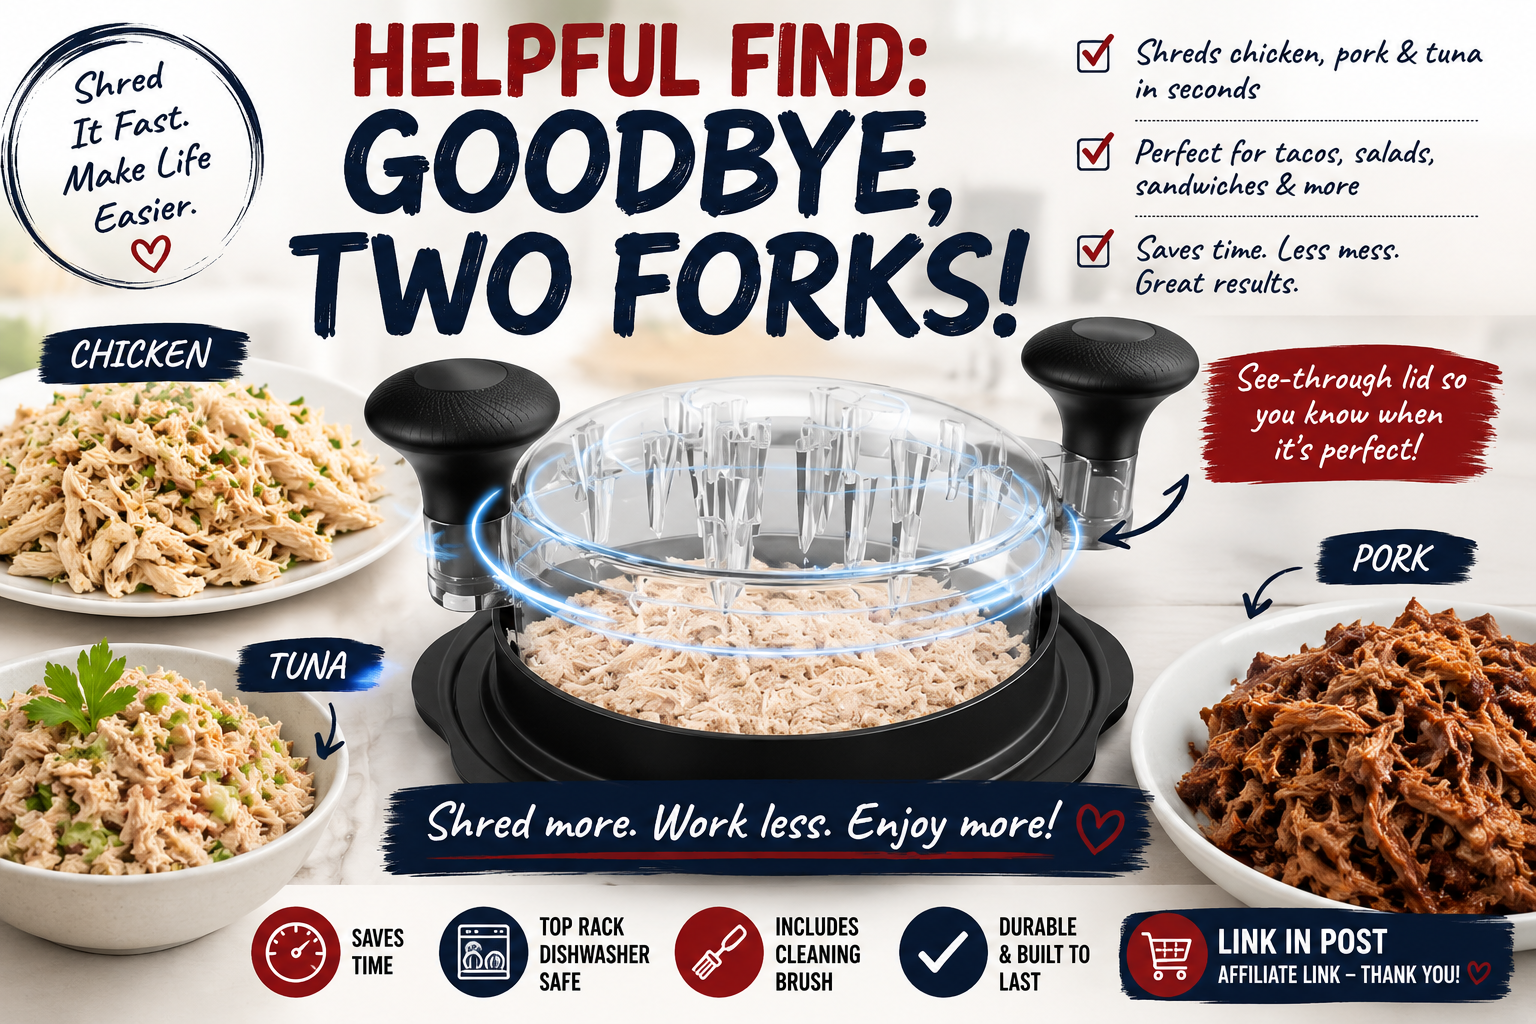
    Put your cooked meat inside, put the top on, and rotate it back and forth. The plastic teeth inside grab the meat and pull it apart.

    A few turns later, you’ve got shredded meat.

    One feature I really like is the clear top.

    You can actually see what’s happening inside while you’re turning it. If the pieces are still too large, keep going. When it reaches the consistency you want, you’re done.

    No need to keep opening it to check.

    We Use It for a Lot More Than Chicken

    I originally thought of something like this as a chicken shredder.

    It definitely does that.

    But we’ve found quite a few other uses for it.

    We’ve used it to make:

    • Shredded chicken tacos
    • Chicken salad
    • Fresh tuna salad
    • Shredded BBQ pork

    The fresh tuna has become one of my favorites.

    We’ve been grilling tuna steaks and then shredding the tuna to make tuna salad rather than always using canned tuna.

    Drop the cooked tuna into the shredder, give it a few turns, and it’s ready for tuna salad.

    Where It Really Earned Its Keep: Pork

    Chicken usually isn’t particularly difficult to shred with forks.

    Pork can be another story.

    I’ve made pork before that I expected to fall apart beautifully…

    It didn’t.

    Then you’re standing there with two forks trying to convince a stubborn piece of pork that it’s supposed to become pulled pork.

    That’s where I’ve really appreciated this thing.

    Put the pork inside and start turning.

    It shreds it.

    Even some of the pork I’ve had trouble pulling apart manually has been considerably easier with this.

    That alone makes it useful in our kitchen.

    It’s Also Faster

    This is probably the biggest reason we continue using it.

    Convenience.

    I’m always looking for ways to make cooking easier.

    I can sit there pulling chicken apart with two forks…

    Or I can put it in this thing, twist it a few times and move on to the next part of dinner.

    That’s an easy decision.

    Especially when we’re making something that requires a decent amount of shredded meat.

    There Is One Thing I Don’t Love

    I’m not going to pretend every product I put under Helpful Finds is perfect.

    This one has a downside.

    It’s a little annoying to clean.

    The plastic pieces inside that do the shredding are sharp and pointy.

    That’s great when they’re attacking a piece of chicken.

    It’s less great when you’re trying to clean little pieces of chicken out from between them.

    I wouldn’t recommend getting aggressive with your fingers trying to remove stuck food.

    Use a brush.

    Ours came with a small cleaning brush, which helps get into the tight spaces.

    I actually think having a slightly larger cleaning brush in addition to the included one would make cleaning easier. Keep the little brush for the tight areas and use the larger one for everything else.

    The important thing is making sure you don’t leave little pieces of food stuck between those plastic teeth.

    Into the Dishwasher It Goes

    After we’ve removed any visible food particles, we put ours on the top rack of the dishwasher.

    That’s made cleanup considerably easier for us.

    As always, I’d follow the cleaning and dishwasher instructions that come with the particular model you buy rather than assuming every plastic shredder is dishwasher safe.

    The dishwasher handles the final cleaning.

    I just want to make sure there aren’t chunks of yesterday’s chicken hiding somewhere inside before it goes in.

    Because…

    Gross.

    Is It Necessary?

    No.

    Let’s be clear.

    Humanity successfully shredded chicken for a very long time before someone invented a plastic container with spikes in it.

    Two forks still work.

    Your hands work.

    There are other ways to do it.

    But that’s not really the point of my Helpful Finds.

    I’m looking for things that make everyday tasks easier.

    And this does.

    It’s especially helpful when we’re preparing a larger amount of shredded meat or when we’re dealing with something like pork that doesn’t particularly want to cooperate.

    ❤️ Greg’s Take

    This is one of those simple kitchen gadgets that turned out to be much more useful than I expected.

    We’ve used it for chicken tacos.

    Chicken salad.

    Fresh tuna salad.

    BBQ pork.

    It saves time, saves me from fighting with two forks, and the clear lid lets me see exactly when the food has reached the consistency I want.

    The downside?

    Cleaning around all those little plastic teeth.

    Use the brush.

    Trust me.

    Other than that, this thing has earned its place in our kitchen.

    And considering how many kitchen gadgets end up buried in the back of a cabinet…

    That’s actually saying something.

    Where to Find It

    If you want to see the food shredder I use, you can find it here:

    View the food shredder on Amazon

    Affiliate Disclosure

    This post contains an Amazon affiliate link. If you make a purchase through my link, I may earn a small commission at no additional cost to you. I only share products that I personally use or believe may be helpful. Affiliate commissions help support He’s Knocking on My Door and the cost of keeping the site running.

  • Helpful Find: Why I Bought a Bread Machine for Low-Sodium Living

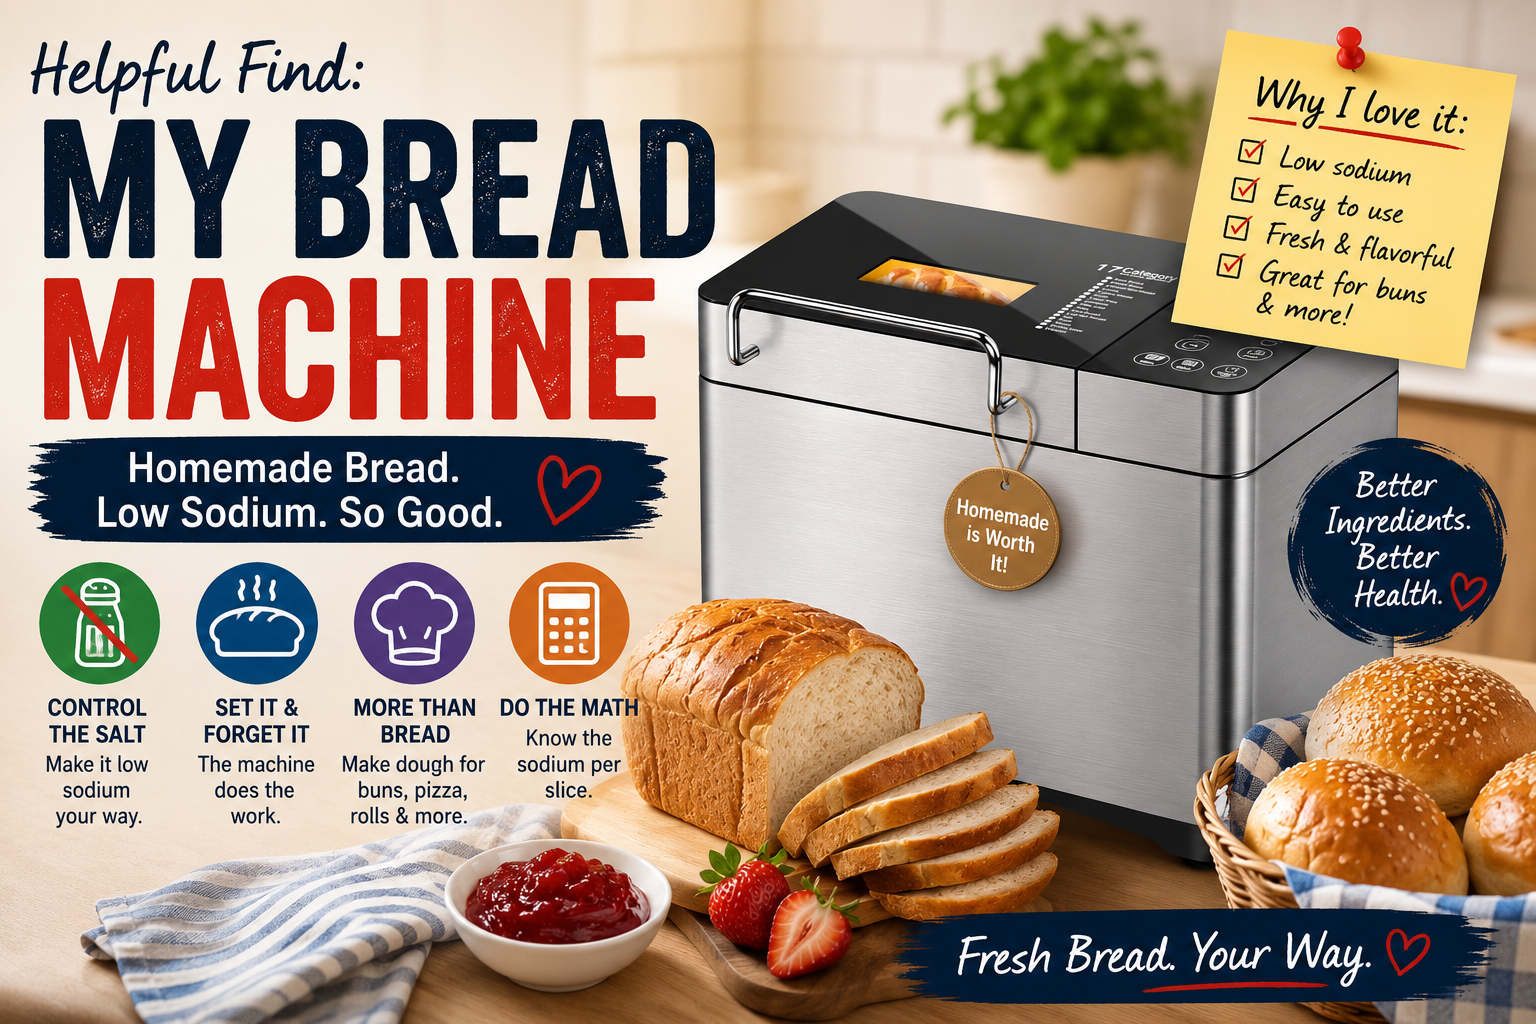
    Helpful Find: Why I Bought a Bread Machine for Low-Sodium Living

    Bread was one of those foods I never gave much thought to before I had to start watching my sodium.

    It’s bread. How much sodium could possibly be in it?

    Apparently, quite a bit.

    Once I started reading nutrition labels, I realized that bread could add a surprising amount of sodium to a meal—especially when you’re eating two slices for a sandwich or adding a bun to something that already contains sodium.

    I didn’t want to give up bread completely.

    So we bought a bread machine.

    And it has turned out to be one of the most useful appliances we’ve purchased since I started living a low-sodium lifestyle.

    Why Make Bread at Home?

    The biggest advantage is pretty obvious:

    I control what goes into it.

    Flour. Water. Yeast. A few other ingredients depending on the recipe.

    And most importantly, I control the salt.

    There are plenty of salt-free and low-sodium bread recipes available online. I’ve made bread with no added salt at all, but I’ve also experimented with regular bread recipes and simply reduced the amount of salt.

    If a recipe calls for a teaspoon of salt, for example, I might try half a teaspoon or even a quarter teaspoon.

    That’s one of the things I like about making it myself.

    It doesn’t always have to be all or nothing.

    I can experiment and find a balance between flavor, texture and the amount of sodium I’m comfortable with.

    I Can Actually Calculate the Sodium Per Slice

    Another thing I really like about homemade bread is knowing exactly what’s in it.

    If I’m making the loaf myself, I know how much sodium went into every ingredient.

    That means I can add up the sodium in the entire recipe and divide it by the number of slices I get from the loaf.

    For example, if all the ingredients in my loaf contained 600 mg of sodium and I cut the finished loaf into 12 slices:

    600 ÷ 12 = approximately 50 mg of sodium per slice.

    I’m not relying on a guess.

    I know what I put into it.

    Of course, you have to remember that your calculation is only as accurate as your ingredients and portion sizes, but it gives me a pretty good way to track what I’m eating.

    It Really Is Set It and Forget It

    I think some people hear “homemade bread” and imagine spending half the day kneading dough on the kitchen counter.

    That’s not what I’m doing.

    The bread machine does most of the work.

    I put the ingredients into the machine, select the program and let it go.

    It mixes.

    It kneads.

    It allows the dough to rise.

    And if I’m making a regular loaf, it bakes it too.

    A few hours later, I’ve got fresh bread.

    That’s my kind of cooking.

    It Does More Than Make Loaves of Bread

    This might actually be my favorite part.

    I don’t always let the bread machine bake the bread.

    Most machines have a dough cycle, and that opens up a whole different world.

    I’ve even made homemade hamburger buns.

    I let the bread machine mix, knead and raise the dough. When it’s finished, I take the dough out, divide it, shape the hamburger buns and put them on a baking sheet.

    Then I bake them in the regular oven.

    They turn out great.

    And personally, I think they’re much more flavorful than the store-bought buns I used to eat.

    You can use the same idea for things like dinner rolls, pizza dough and other breads.

    I’ve also made focaccia using my bread machine, which is another recipe I’ve shared on the site.

    That’s one reason I don’t think of this as an appliance that only makes rectangular loaves of bread.

    For me, it’s really a dough-making machine too.

    There Are Some Downsides

    As much as I like it, a bread machine isn’t perfect.

    It’s Not Small

    This is a legitimate consideration.

    A bread machine is a fairly large countertop appliance.

    If you have a small kitchen or limited storage, you’ll need to figure out where you’re going to put it.

    It’s not something you’re going to tuck into a tiny drawer when you’re finished.

    For us, the amount we use it makes the storage space worthwhile.

    Homemade Bread Doesn’t Last as Long

    This is another thing I’ve learned.

    Homemade bread generally doesn’t have the shelf life of the commercial bread you buy at the grocery store.

    Salt plays several roles in bread making, and reducing it can affect the finished bread. Homemade bread also doesn’t typically contain the preservatives and other ingredients used to extend the shelf life of many commercially produced breads.

    So I don’t expect my homemade bread to sit around for weeks.

    Honestly, that’s usually not much of a problem.

    Fresh homemade bread has a funny way of disappearing.

    You can also slice and freeze bread you aren’t going to use right away.

    Is It Worth It?

    For me?

    Absolutely.

    When I first started eating low sodium, there were so many things that suddenly felt like they were being taken away.

    Bread was one of them.

    Buying a bread machine gave some of that back.

    Now I can make a loaf with little or no added salt.

    I can experiment with recipes.

    I can make hamburger buns.

    I can make focaccia.

    I can make pizza dough.

    And I know exactly how much salt I put into it.

    There are some inconveniences.

    The machine takes up space.

    Homemade bread doesn’t last as long.

    And yes, making bread requires a little more effort than grabbing a loaf off the grocery-store shelf.

    But I’ll take those trade-offs.

    ❤️ Greg’s Take

    One of the things I’m slowly learning about low-sodium living is that sometimes the answer isn’t finding a perfect replacement at the grocery store.

    Sometimes the answer is:

    Make it yourself.

    That’s what happened with bread.

    Instead of walking through the bread aisle reading label after label and getting frustrated by the sodium, I can make my own and decide exactly how much salt goes into it.

    Sometimes that’s none.

    Sometimes I take a regular recipe and cut the salt in half.

    Sometimes I cut it even further.

    I’m still experimenting.

    But the important thing is that bread is back on the menu.

    And when you’re living with a diet that can sometimes feel like an endless list of things you can’t have, getting something back feels pretty damn good.


    The Bread Machine I Use

    The bread machine I’m talking about in this article is the one I personally purchased and use at home.

    See the Bread Machine I Use on Amazon

    I use it for regular loaves as well as making dough for things like hamburger buns and focaccia.

    Affiliate Disclosure: This post contains an Amazon affiliate link. As an Amazon Associate, I may earn from qualifying purchases made through this link at no additional cost to you. I personally use the bread machine featured in this article. I purchased it with my own money and am not affiliated with KBS. I’m sharing it because it has been useful in my own low-sodium cooking, not because it will be the right choice for everyone. My opinions and experiences are my own.

  • MyID — When Keeping My Health Private Wasn’t Worth the Risk

    MyID — When Keeping My Health Private Wasn’t Worth the Risk

    Affiliate Disclosure: This post contains an Amazon affiliate link. As an Amazon Associate, I may earn from qualifying purchases made through this link at no additional cost to you. I personally use the MyID product featured in this article. My opinions and experiences are my own.

    When I first became chronically ill, I didn’t want everyone to know.

    I didn’t want people looking at me and immediately seeing someone who was sick or disabled. I didn’t want my medical conditions to become my identity.

    For a while, I wanted to keep as much of it private as possible.

    But eventually I had to ask myself a pretty important question:

    What happens if something happens to me and I can’t speak for myself?

    That’s when privacy started taking a back seat to safety.

    It Only Takes One Emergency

    Most of the time, I can explain my medical history myself.

    I can tell someone about my conditions. I can tell them what medications I take. I can explain important parts of my medical history and give them my emergency contacts.

    But an emergency is different.

    What if I’m unconscious?

    What if I’m confused or unable to communicate?

    What if I’m alone?

    In those circumstances, emergency personnel may have very little information about the person they’re trying to help.

    With my medical history, I decided that wasn’t a chance I wanted to take.

    I knew I needed some type of medical ID.

    I Didn’t Want a Traditional Medical Bracelet

    I’ll admit that I was picky about this.

    I didn’t want one of those traditional medical bracelets with something dangling from my wrist.

    I didn’t want something hanging around my neck either.

    I already wear my watch every day. What I really wanted was something that could become part of something I was already wearing.

    That’s when I found MyID.

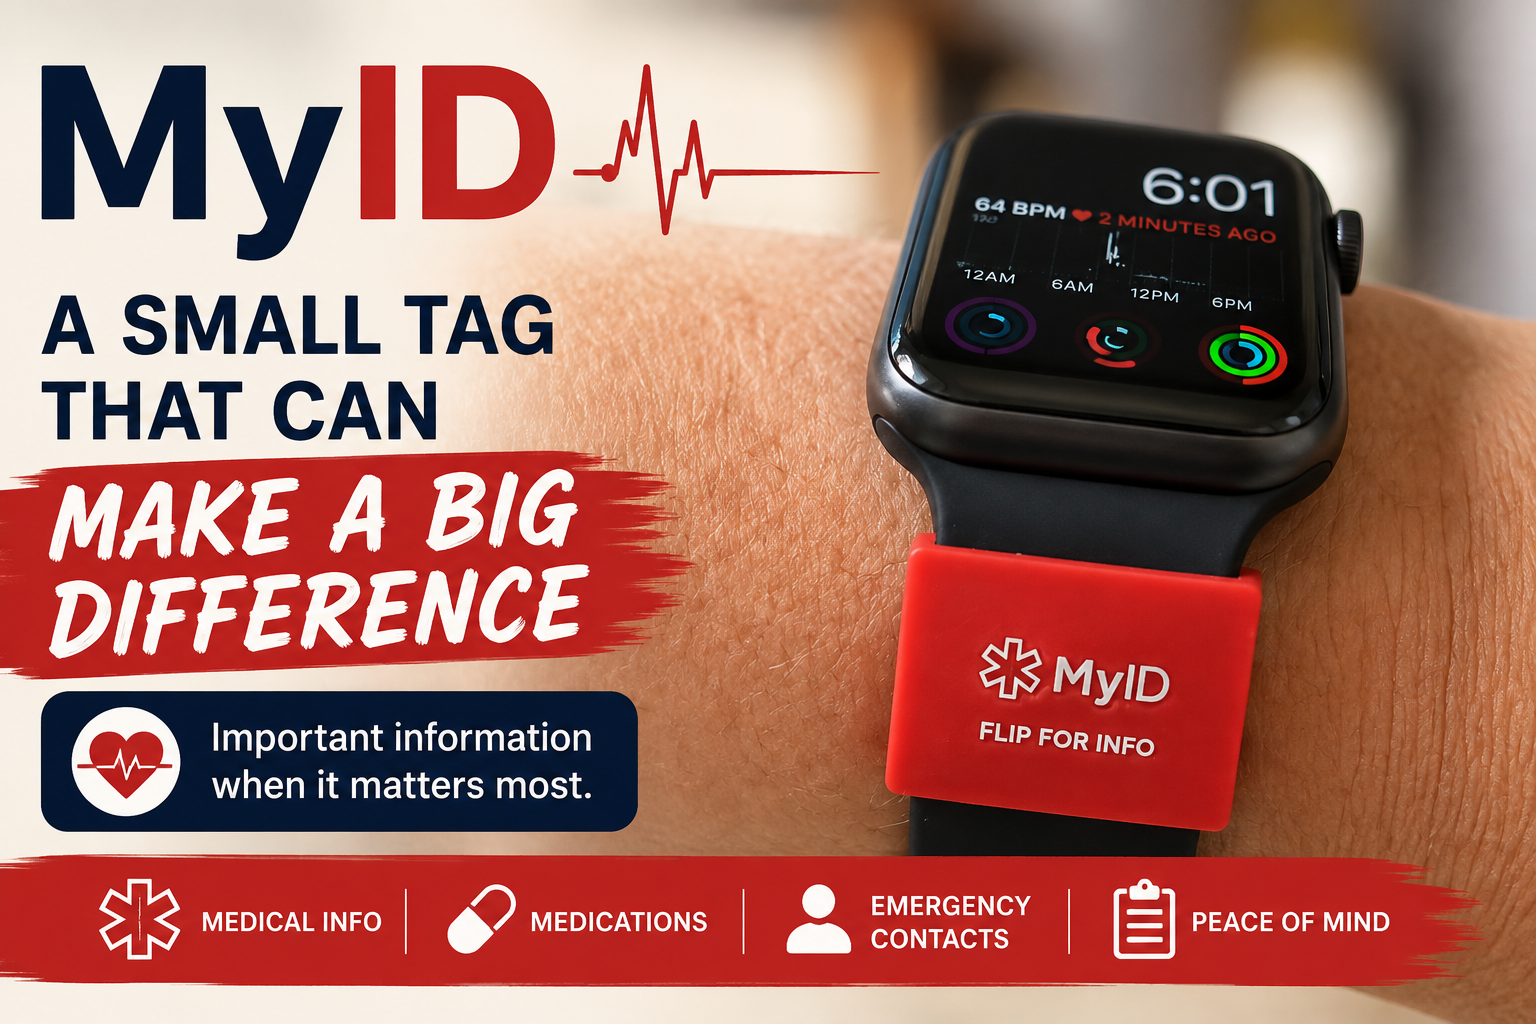
    The version I chose is a small sleeve that slides directly onto my watch band.

    It’s unobtrusive. There’s nothing dangling from my wrist, nothing around my neck, and I don’t have another item I have to remember to put on every morning.

    If I’m wearing my watch, I’m wearing my medical ID.

    For me, that was exactly what I wanted.

    A Small Tag With a Lot of Information

    The MyID sleeve has the recognizable medical ID symbol on the outside.

    On the back is a QR code that can be scanned to access the emergency medical profile I created.

    That profile can contain the information I choose to provide, including things such as:

    • Medical conditions
    • Medications
    • Allergies
    • Personal information
    • Emergency contacts
    • Other important health information

    I like this approach because I’m not trying to cram my entire medical history onto a tiny metal bracelet.

    The tag is simply the doorway to the information.

    The Star of Life Matters

    One thing I especially like about MyID is that it isn’t just a random QR code sitting on my watch band.

    The sleeve displays the Star of Life, the familiar medical identification symbol.

    According to MyID, EMTs are trained to look for this universal medical ID symbol during an emergency assessment. When they see it on a MyID product, it alerts them that medical information may be available through the QR code.

    That was important to me.

    Having all of my information stored in a profile doesn’t do much good if no one knows it’s there.

    The symbol identifies the sleeve as a medical ID, and the QR code provides access to the information I’ve chosen to make available.

    If I can’t speak for myself, the hope is that my MyID can help speak for me.

    Setting It Up Was Easy

    Setting up my profile only took me a few minutes.

    I entered the medical information I wanted available and added my emergency contacts.

    And there’s something about this system that I particularly like:

    If something changes, I don’t need to buy another medical ID.

    I can update the information in my online profile.

    New medication?

    Update it.

    Medication discontinued?

    Update it.

    New diagnosis or important change in my medical history?

    Update it.

    That’s a big advantage over a traditional engraved medical bracelet where the information printed on the bracelet can eventually become outdated.

    Of course, there’s a responsibility that comes with that convenience.

    The information is only as accurate as I make it.

    If something changes and I don’t update my profile, that’s on me.

    There Are More Options Than the One I Chose

    The watch sleeve happened to be the best choice for me, but that isn’t the only style available.

    MyID offers different types of wearable and attachable medical IDs, including bracelets, silicone bands, decorative styles, tags, wristlets, stickers, IDs, and sleeves like the one I use.

    That’s important because not everyone wants to wear the same thing.

    Someone might prefer a traditional bracelet.

    Someone else might want something attached to an item they carry.

    I wanted something on my watch.

    The important part isn’t which style you choose.

    It’s having important information available when you might not be able to provide it yourself.

    Privacy vs. Safety

    This was probably the biggest hurdle for me.

    I spent a lot of time after becoming chronically ill not wanting the world to know that anything was wrong with me.

    I understand that feeling.

    But I’ve also realized that there’s a difference between keeping my health information private from the general public and making sure critical information is available during an emergency.

    I don’t need every person I meet to know my medical history.

    But if I’m lying unconscious somewhere, I absolutely want the people trying to save my life to have as much useful information as possible.

    That changed the way I looked at wearing a medical ID.

    It stopped feeling like a sign announcing that I was sick.

    It became another tool I use to protect myself.

    Interested in MyID?

    The MyID watch sleeve shown in this article is the one I personally use every day. I like that it fits directly on my watch band, stays out of the way, and gives me a way to make important medical and emergency-contact information available if I’m ever unable to provide it myself. If you’d like to take a look at MyID and the options available, you can view it here on Amazon. There are different styles available, so you can choose the type of medical ID that works best for you.

    ❤️ Greg’s Take

    Hopefully, my MyID is something I’ll wear for years and never actually need in an emergency.

    That’s the best possible outcome.

    But I also wear a seat belt every time I get into a car hoping I’ll never need that either.

    For me, this is similar.

    I already wear my watch every day. Sliding a small medical ID onto the band doesn’t inconvenience me, and after a while I barely notice that it’s there.

    But if the day ever comes when I’m unable to speak for myself, that little red sleeve could help point emergency personnel toward information I’ve decided they should know.

    I’d rather have it and never need it than need it once and not have it.

    Suggested Internal Links

    You Are Your Best Advocate


    Product Note

    This article reflects my personal experience with MyID and why I chose to use it. Features, services, product styles, and access methods can change over time, so I recommend checking MyID’s current product information directly before purchasing or relying on any specific feature.

  • Why We Finally Bought a Rice Cooker

    Why We Finally Bought a Rice Cooker

    Sometimes the best helpful finds aren’t complicated.

    They’re just things that make everyday life a little easier.

    We eat quite a bit of rice in our house. Since I’ve been following a low-sodium diet, rice has become an easy base for a lot of the meals we make at home.

    Plain rice is naturally very low in sodium as long as you’re not adding salt, salty broth, or other high-sodium ingredients while cooking it.

    There’s just one problem.

    You still have to cook it.

    Making rice on the stove certainly isn’t difficult, but you have to watch it, get the water-to-rice ratio right, make sure it doesn’t overcook, and hopefully end up with rice that’s neither crunchy nor mushy.

    Eventually we decided there had to be an easier way.

    So we bought a rice cooker.

    And I’m glad we did.

    Set It and Forget It

    The biggest reason we bought a rice cooker was convenience.

    Put in the rice and water, turn it on, and let the machine take care of the rest.

    There’s no standing over the stove or wondering whether I should turn the heat down.

    Set it and forget it.

    Once the rice is finished, our cooker automatically switches to a keep-warm mode. That means we don’t have to perfectly coordinate the rice with everything else we’re cooking for dinner.

    That may seem like a small thing, but when you’re preparing several things at once, having one less pot to worry about is pretty nice.

    The Rice Comes Out Right

    This might be my favorite part.

    The rice comes out consistently good.

    I’ve made plenty of rice on the stove that was still a little hard when dinner was ready. I’ve also gone the other direction and cooked it too long.

    With the rice cooker, there’s much less guesswork.

    Put everything in, start it, and when it’s finished, we have rice ready for dinner.

    Brown Rice, White Rice and Carbohydrates

    We make both white and brown rice.

    I’ve been using brown rice quite a bit because it provides more fiber than white rice. But that doesn’t mean we’ve eliminated white rice. We still enjoy both depending on what we’re making.

    For me, the bigger consideration is portion size.

    Rice may fit nicely into my low-sodium diet, but it still contains a significant amount of carbohydrates. Because I also have diabetes, I have to pay attention to how much rice I put on my plate.

    That’s an important distinction I’ve learned along the way:

    Low sodium doesn’t automatically mean something is unlimited.

    A food can work very well for one part of my diet while still requiring some thought because of another health condition.

    So I enjoy my rice.

    I just don’t fill half my plate with it.

    Great for the Meals We Make at Home

    Rice has become the base for quite a few meals around here.

    The steak and shrimp rice bowls I recently mentioned in my Daily Journal are a perfect example. We can control the seasoning on the steak, choose our vegetables, pay attention to the sodium in the shrimp, and serve everything over a measured portion of rice.

    I’ll be sharing my version of that recipe on the site soon.

    That’s the kind of cooking I’ve been trying to embrace.

    Instead of focusing entirely on foods I can’t have anymore, I’m finding meals we enjoy and figuring out how to make them work for me.

    The rice cooker simply makes that easier.

    It Doesn’t Take Over the Kitchen

    Another thing I like about rice cookers is that you don’t need a giant appliance.

    They come in several different capacities, so you can choose one based on how much rice you normally make.

    We went with a medium-sized model, which gives us enough capacity without taking up a ridiculous amount of counter or cabinet space.

    If kitchen storage is limited, that’s worth considering.

    Cleanup Takes Almost No Time

    Convenience doesn’t mean much to me if an appliance takes forever to clean.

    Fortunately, ours doesn’t.

    The cooking pot has a nonstick interior, so cleanup is extremely easy. Once we’re finished, it takes very little time to clean the pot and have it ready for the next meal.

    Simple to use.

    Simple to clean.

    And consistently good rice.

    That’s pretty much what I wanted.

    ❤️ Greg’s Take

    Do you absolutely need a rice cooker?

    Of course not.

    You can make perfectly good rice on the stove.

    But that’s not really why I bought one.

    I bought it because it makes life easier.

    Living with chronic illness has made me appreciate things that save a little time and effort. If an appliance can take one job off my plate while we’re making dinner, that’s valuable to me.

    I can put the rice on, walk away, and concentrate on preparing everything else—or just sit down until I need to do something again.

    When dinner is ready, the rice is ready.

    And it’s cooked right.

    Sometimes a Helpful Find doesn’t have to change your life.

    Sometimes it just has to make one little part of it easier.

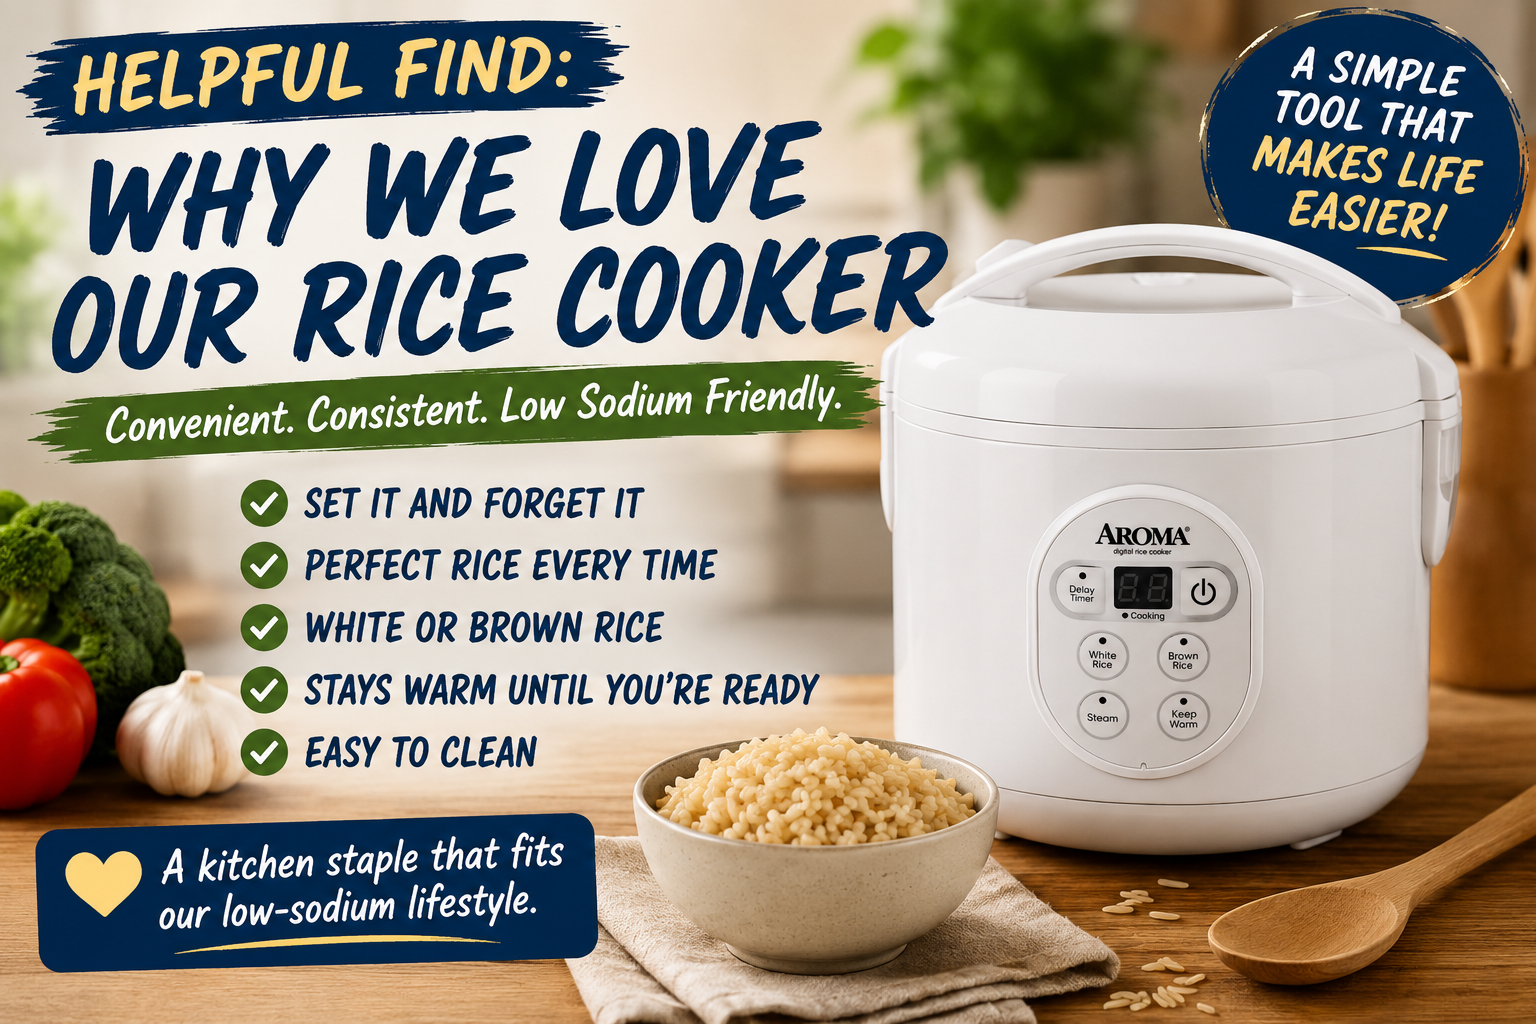
    The Rice Cooker I Use

    If you’d like to see the rice cooker we purchased, you can find it here:

    See the rice cooker I use on Amazon

    There are different sizes available, so I’d choose the capacity that makes sense for the amount of rice you normally prepare rather than automatically buying the largest one.

    Affiliate Disclosure: This post contains an affiliate link. If you purchase something through my link, I may earn a small commission at no additional cost to you. I only share products that I personally use or believe may be helpful.

    Health Disclaimer: I’m sharing my personal experience and how rice fits into my own eating plan. This is not medical or nutritional advice. Rice is a carbohydrate-containing food and can affect blood glucose. If you have diabetes or another condition requiring dietary management, work with your healthcare provider or dietitian to determine the types and portions of foods that are appropriate for you. Always check nutrition labels and ingredients, particularly on seasoned or prepared rice products.

  • Bringing Blackened Fish Back to My Low Sodium Diet

    Bringing Blackened Fish Back to My Low Sodium Diet

    Affiliate Disclosure: This post contains an affiliate link. If you make a purchase through the link, I may earn a small commission at no additional cost to you. I only share products that I personally use or believe may be helpful. of the things I’ve missed most since switching to a low sodium lifestyle is blackened seafood.

    I’ve mentioned before that one of the reasons we moved to Southwest Florida was the seafood. I love blackened fish and shrimp, but traditional blackening seasonings can contain more sodium than I’m comfortable with.

    So, like a lot of things since being diagnosed with CHF, I started looking for another way.

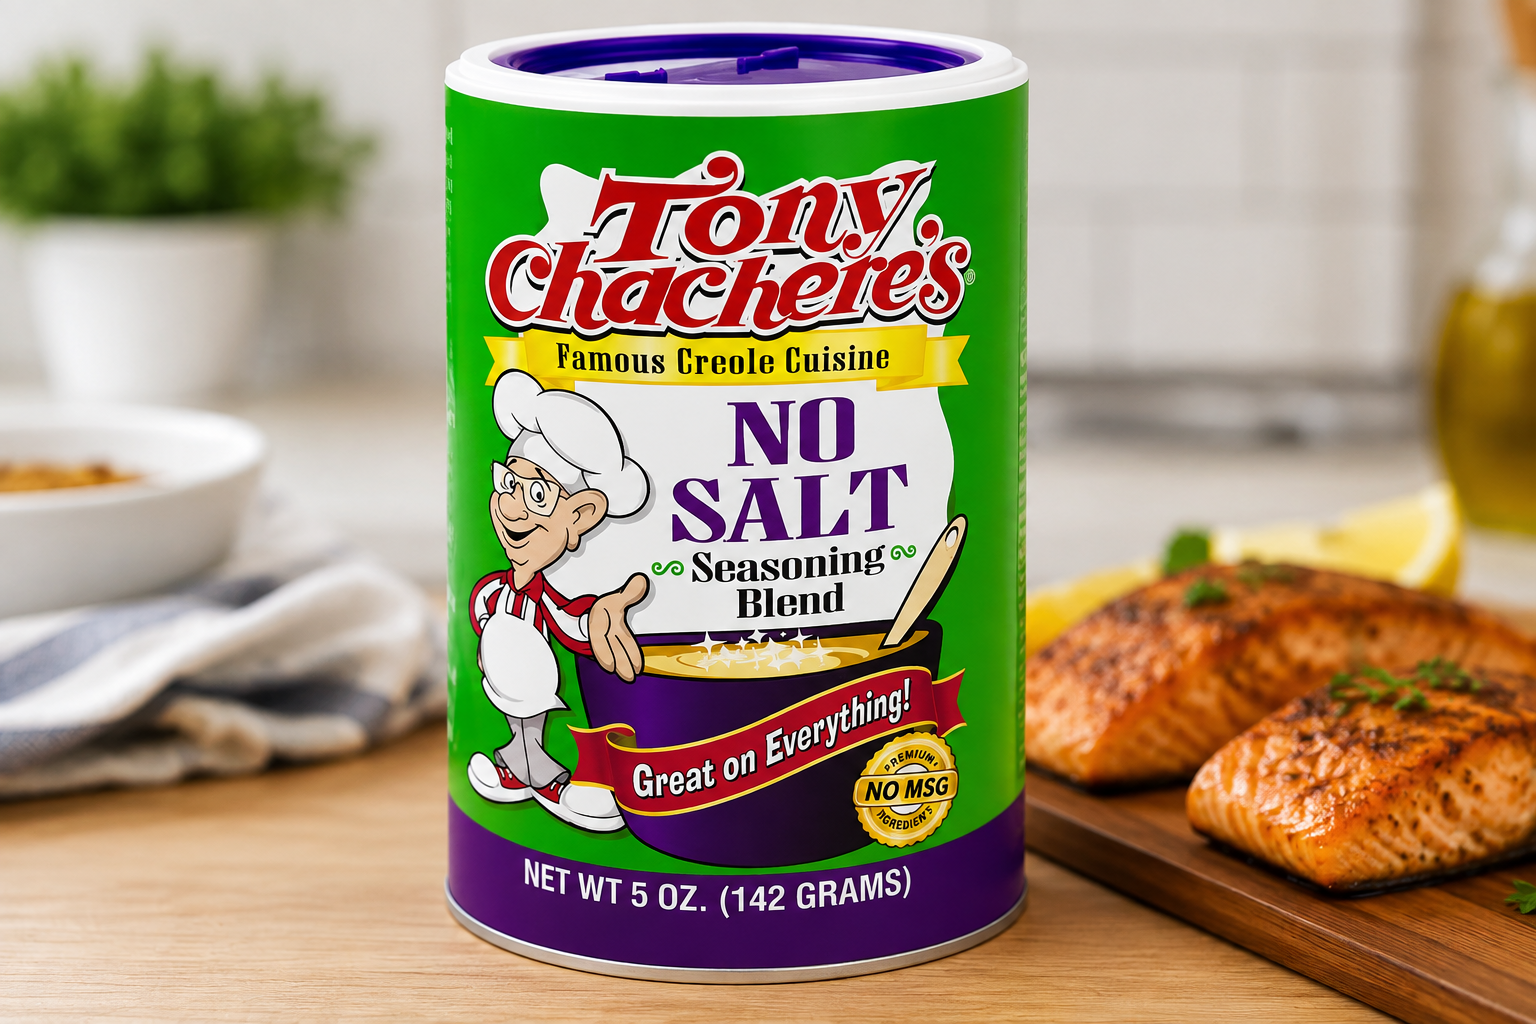
    That’s when I found Tony Chachere’s No Salt Seasoning.

    I’ve been using it at home as an alternative to traditional blackening seasoning, particularly on fish and shrimp. 

    And I’ve been really happy with it.

    Getting the Flavor Back

    One of the biggest lessons I’ve learned about low sodium cooking is that removing salt doesn’t have to mean removing flavor.

    You just have to find other ways to get there.

    When I cook fish or shrimp, I use this seasoning much like I would have used a traditional blackening seasoning in the past. It gives me that Cajun-style flavor I’m looking for without having to rely on the seasoning blends I used before.

    Is it exactly the same as ordering a heavily seasoned piece of blackened grouper at a waterfront restaurant?

    Probably not.

    But I can make it at home, control what goes into the meal, and enjoy something I thought I might have to give up.

    That’s a pretty good trade in my book.

    This Is What Low Sodium Living Has Become for Me

    This seasoning is a perfect example of why I created the Low Sodium Living section of this website.

    I’m not interested in spending the rest of my life eating bland chicken and steamed vegetables.

    I want food that I actually look forward to eating.

    Sometimes that means making spaghetti sauce from scratch.

    Sometimes it means buying a bread machine so I can enjoy bread again.

    And sometimes it’s as simple as finding a seasoning that lets me put fish and shrimp back on the menu.

    The goal isn’t to recreate my old diet.

    It’s finding new ways to enjoy the foods I love while making choices that work better for my health.

    Where I Use It

    Fish and shrimp are where I use this seasoning the most, but I’m going to start sharing some of the recipes where I’ve substituted it for traditional blackening seasoning.

    As I add those recipes to the site, I’ll link them here so this page becomes a place you can come back to for ideas.

    Would I recommend it?

    Absolutely.

    It’s exactly the kind of product I want to feature under Helpful Finds: something I actually use in my own kitchen that has made living with a low sodium diet a little easier.

    Living with CHF has taken some foods off my menu.

    But every once in a while, I find something that lets me put one back on.

    That’s a helpful find worth sharing.

    Where to Find It

    I purchased mine online. You can see the seasoning I use here:

    Tony Chachere’s No Salt Seasoning on Amazon

    Disclosure: If this is an affiliate link, I may earn a small commission if you make a purchase through it, at no additional cost to you.

  • The Weekly Pill Organizer That Simplified My Medication Routine

    The Weekly Pill Organizer That Simplified My Medication Routine

    The Weekly Pill Organizer That Simplified My Medication Routine

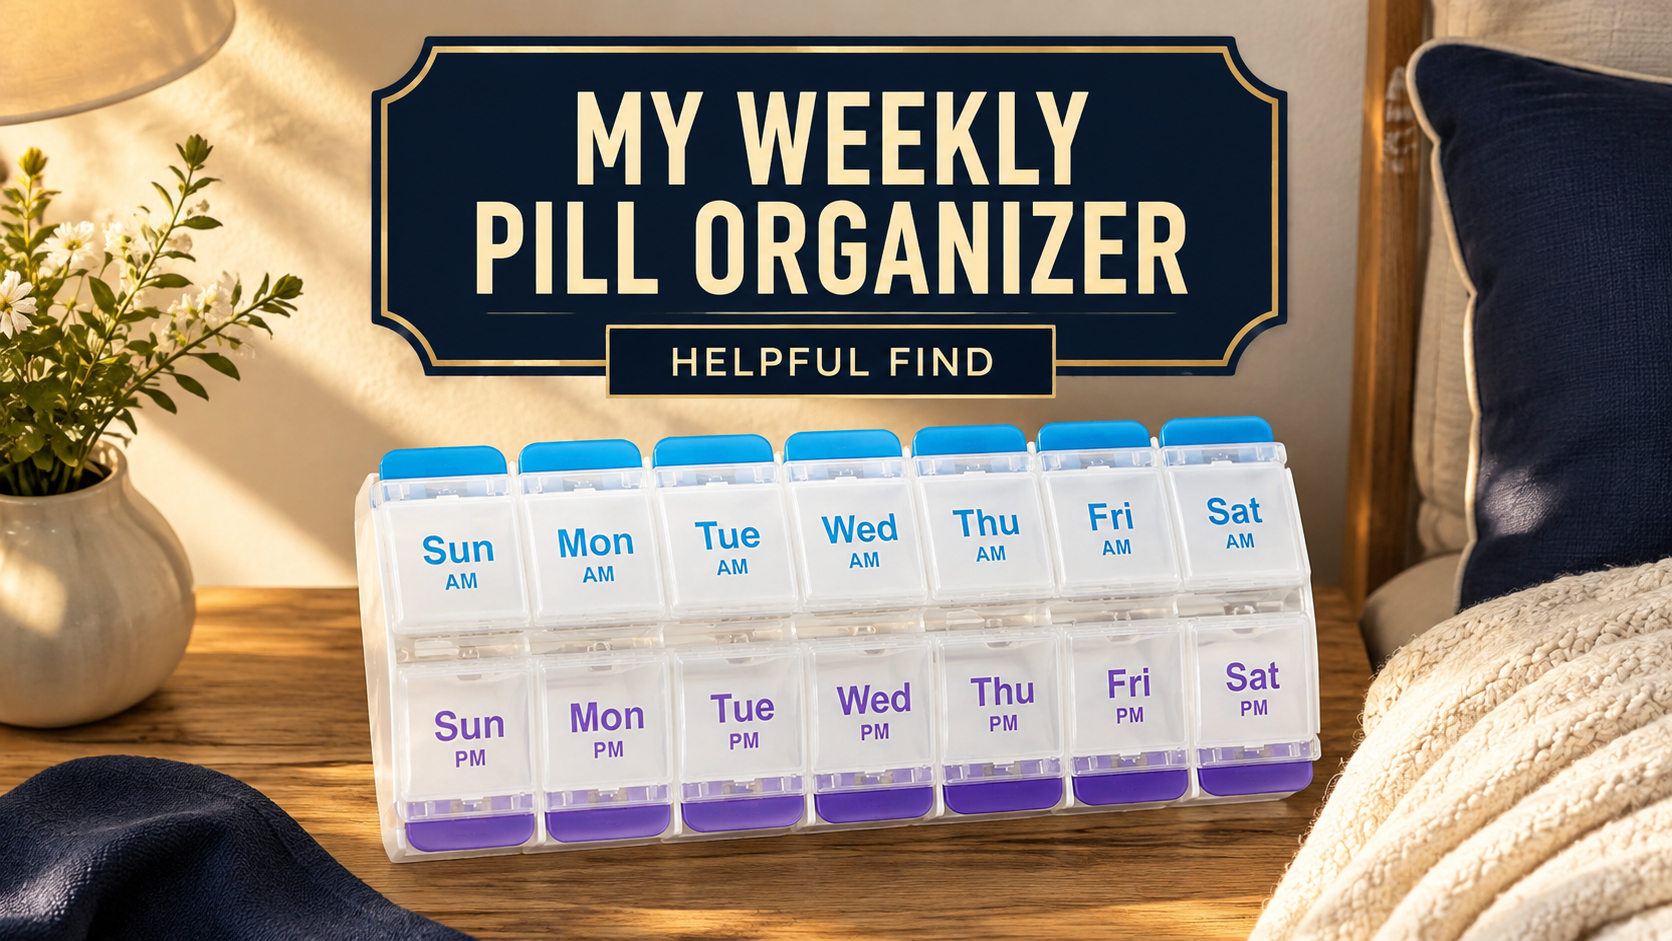
    Living with several chronic illnesses means taking a lot of medication. Right now, I take seven pills in the morning and three in the evening. Keeping all those bottles on the counter—and opening each one twice a day—would create clutter and make an already complicated routine even more tedious.

    Eventually, I admitted that I was apparently old enough to buy a pill organizer. Honestly, it turned out to be one of my better decisions.

    I chose a compact organizer that holds seven days of medication, with separate AM and PM compartments for each day. Once a week, I sit down and fill it. This has become part of my weekly routine and gives me an opportunity to see which medications are beginning to run low.

    When I notice that I’m running short, I check the CVS app to see when the prescription can be refilled. Sometimes the app says CVS has contacted my doctor because a prescription needs to be renewed. Where that request actually ends up is anyone’s guess, right? When necessary, I also send the doctor a message through MyChart to request the refill.

    The organizer is compact enough to fit inside the storage compartment in the arm of my recliner. Every morning and evening, I open the appropriate compartment and take my medications. It is much easier than sorting through a collection of pill bottles twice a day.

    What I Like About It

    • It holds seven days of medication.
    • Every day has separate AM and PM compartments.
    • It helps me follow a consistent medication routine.
    • Filling it weekly helps me notice when prescriptions are running low.
    • It is compact and easy to store.
    • It eliminates the need to handle numerous pill bottles every day.

    There are many pill organizers available in different sizes and designs. This particular one has worked well for my needs.

    View the pill organizer on Amazon

    A pill organizer does not replace following your prescriptions carefully or maintaining an accurate medication list. This is simply the system that helps me manage my own daily routine.

    Affiliate disclosure: This post contains an affiliate link. If you purchase through this link, I may earn a small commission at no additional cost to you.

  • Benson’s Table Tasty: A Salt-Free Seasoning I Actually Enjoy

    Benson’s Table Tasty: A Salt-Free Seasoning I Actually Enjoy

    Following a low-sodium diet has required plenty of compromises. The most obvious was accepting that salt could no longer be an everyday staple in our home.

    That is much easier said than done.

    You can prepare a recipe without salt, but that does not necessarily mean it will taste good. When I first changed my diet, many foods tasted bland. I tried numerous herbs, spices, and salt-free blends, but none came close to replacing the flavor I missed.

    Then I read about a seasoning called Benson’s Table Tasty.

    Deciding to Try It

    I found Table Tasty on Amazon and initially thought it was a little expensive for a bottle of seasoning. Still, I decided to give it a try.

    I’m glad I did.

    Before long, I went from ordering a small shaker to buying it by the pound. The larger bag is much more cost-effective, although I recommend trying the shaker first to make sure you like it.

    Table Tasty is technically a seasoning rather than a salt substitute. It does not contain potassium chloride, an ingredient commonly found in many salt substitutes. According to the nutrition label on my package, a ¼-teaspoon serving contains 0 milligrams of sodium and 4 milligrams of potassium. Always check the current package information because ingredients and nutrition facts can change.

    How I Use Table Tasty

    I have used Table Tasty on just about everything. It adds flavor without overpowering the food, and it works especially well on:

    • Chicken, fish, beef, and other proteins
    • Roasted or baked vegetables
    • Carrots and potatoes
    • Scrambled and hard-boiled eggs
    • Homemade popcorn

    One of my favorite uses is popcorn. I make popcorn in the microwave—I’ll share how I do that in another article—then add a little olive oil and Table Tasty.

    Is it exactly like heavily salted movie-theater popcorn? No. But it tastes pretty good, and it gives me something satisfying that fits much better into the way I need to eat now.

    My Honest Opinion

    Table Tasty does not taste exactly like regular salt, and I would not describe it as a perfect one-for-one replacement. However, of all the salt-free seasonings I have tried, it is one of the closest I have found to providing that savory flavor I was missing.

    The price of the small shaker may give you pause, but buying the larger bag brings down the cost considerably if you decide you like it. I now keep it on hand because it makes low-sodium meals easier and more enjoyable.

    Low-sodium eating still requires adjustment, but finding products like this reminds me that food does not have to be flavorless.

    You can find Benson’s Table Tasty on Amazon.

    Affiliate disclosure: This post contains an affiliate link. If you make a purchase through the link, I may receive a small commission at no additional cost to you. I purchased and use this product, and the opinions expressed here are my own.

    This article describes my personal experience and is not medical or dietary advice. Nutrition needs vary, particularly for people managing kidney or heart conditions. Check the current product label and speak with your healthcare professional about what is appropriate for you.

  • Equate 8000 Blood Pressure Monitor Review: What I Use Every Day

    Equate 8000 Blood Pressure Monitor Review: What I Use Every Day

    A reliable blood pressure monitor is an essential part of my daily routine. Every morning, I check my blood pressure along with my weight and other health measurements. These readings help me notice changes and provide useful information to share with my doctors.

    Because I live with heart failure and other chronic health conditions, I pay close attention to possible signs of fluid retention. Blood pressure alone cannot determine whether fluid is building up, but I use it as one part of the overall picture—along with changes in my weight, swelling, symptoms, and the care plan provided by my medical team.

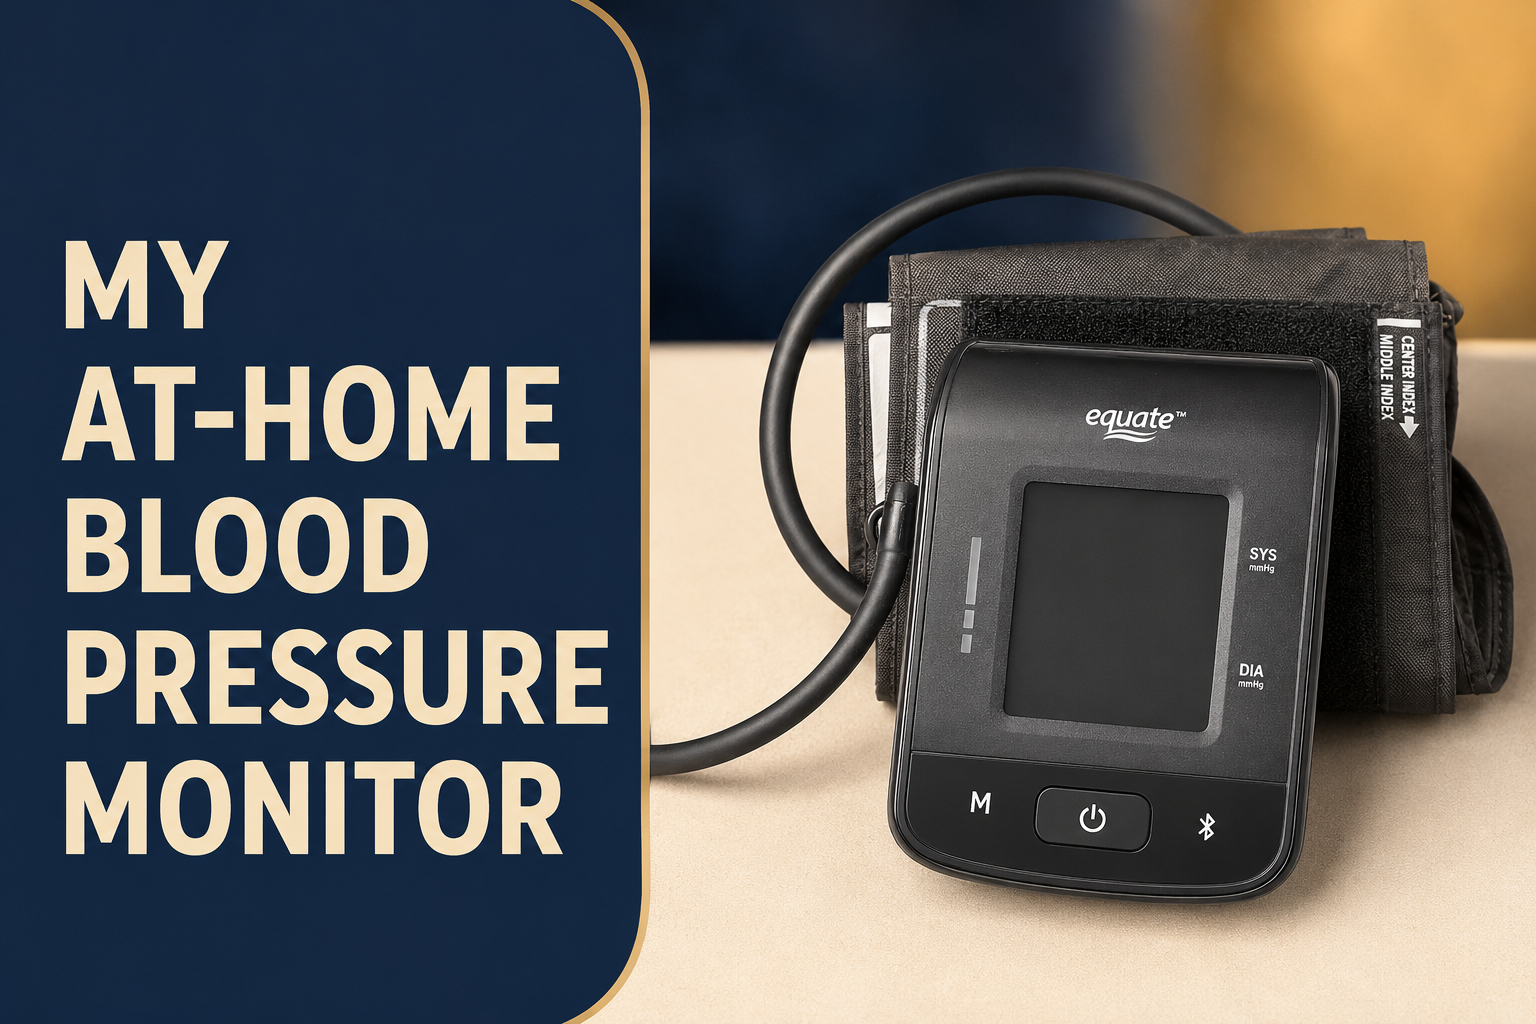
    The monitor I use is the Equate 8000 Series Premium Upper Arm Blood Pressure Monitor. I purchased it at Walmart and have found it dependable and easy to incorporate into my morning routine.

    What I Like About It

    One of its most useful features is Bluetooth connectivity. My readings can be synchronized with Apple Health, which helps keep my health information together and makes it easier to review changes over time.

    The monitor supports two users, so two people can maintain separate reading histories on the same device. It also alerts me when it detects a potentially irregular heartbeat during a measurement. Since I live with persistent atrial fibrillation, I do not use that notification to diagnose anything, but it is still useful information to notice and discuss with my healthcare team when necessary.

    It offers two different measurement modes:

    • A standard mode that takes one blood pressure reading
    • A multi-reading mode that takes three readings and calculates an average

    I especially like the three-reading option because blood pressure can vary from one measurement to the next. Having the monitor calculate an average gives me a more consistent number without requiring me to record and calculate three separate readings myself.

    The monitor is also extremely quiet while operating. That makes it convenient to use early in the morning without disturbing anyone else.

    It runs on four AA batteries, so it does not need to remain plugged into an outlet.

    What I Don’t Like

    My only significant complaint is its size. It is larger than some blood pressure monitors, so it is not the most convenient choice for travel or for someone with limited storage space. For regular use at home, however, the size has not prevented it from becoming a valuable part of my routine.

    My Overall Opinion

    This monitor has worked well for my needs. I like its Bluetooth syncing, support for two users, quiet operation, irregular-heartbeat detection, and the option to average three readings.

    It is not the smallest monitor available, but for daily home use, I have found it convenient and dependable. Most importantly, it helps me consistently track information that I can review over time and share with my healthcare providers.

    View the Equate 8000 Series Blood Pressure Monitor at Walmart

    This is my personal experience with a product I purchased and use. It is not medical advice, and a home blood pressure monitor is not a substitute for evaluation or treatment by a qualified healthcare professional.