Tag: Chicken

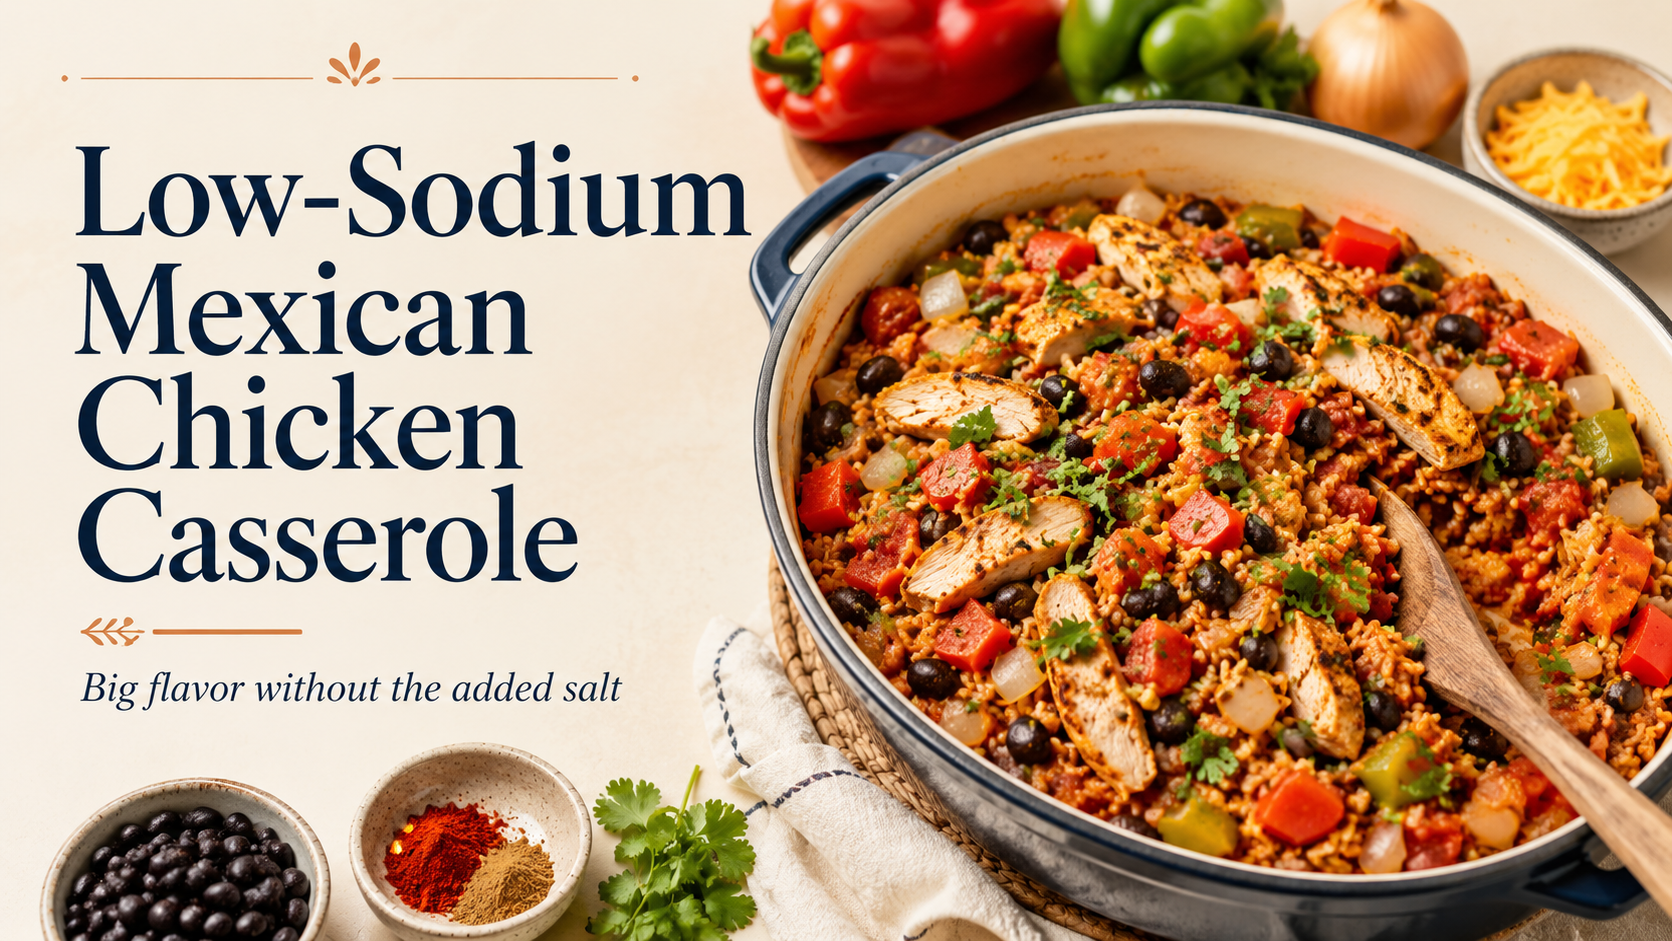
  • Low-Sodium Mexican Chicken Casserole

    Low-Sodium Mexican Chicken Casserole

    There are some recipes you find that just work.

    This Mexican casserole is one of those for our family.

    The original recipe came from Luci’s Morsels and is called One Pot Mexican Rice Casserole. We liked the basic recipe right away, but the original version contains ingredients that can add a lot of sodium, including added salt, regular canned beans and tomatoes, and a generous amount of cheese.

    So we changed it.

    The result is one of those meals where I don’t feel like I’m eating a sad low-sodium substitute.

    It still has plenty of flavor.

    And that matters.

    We Cook Our Protein Ahead of Time

    One thing we do differently in our house is cook meat in bulk.

    Living in Florida, standing over a grill around dinner time is not always particularly appealing.

    It’s hot.

    Really hot.

    So once or twice a month, we grill a large amount of protein at one time.

    We do this with things like:

    • Chicken
    • Pork
    • Tuna

    We season everything with no-sodium spices, cook it on the grill, portion it out, vacuum seal it and freeze it.

    Then when we want to make something like this casserole, most of the work is already done.

    The grill also gives the meat plenty of flavor without needing salt.

    For this recipe, we just thaw some of our grilled chicken, chop or shred it, and it is ready to go.

    The Biggest Change: Lose the Salt

    The original recipe calls for 1½ teaspoons of salt.

    We leave it out completely.

    That one change eliminates roughly 3,450 mg of sodium from the entire recipe before changing anything else.

    And honestly?

    We don’t miss it.

    There is already a lot going on in this dish.

    You have onion.

    Bell peppers.

    Garlic powder.

    Chili powder.

    Cumin.

    Paprika.

    Pepper.

    Chili flakes if you want a little heat.

    There is plenty of flavor.

    If you taste it and think it needs something, add more of the salt-free spices.

    We have never found this casserole bland without the added salt.

    No-Salt-Added Black Beans

    The second change is easy.

    We use no-salt-added black beans.

    These are a staple in our house anyway. I add black beans to salads all the time, so we usually have several cans in the pantry.

    We normally buy ours at Walmart.

    Regular canned beans can contain a surprising amount of sodium, so this is one of those really easy substitutions that can make a meaningful difference without changing the recipe.

    Drain them and add them exactly the same way you would regular black beans.

    No-Salt-Added Tomatoes

    Same idea with the tomatoes.

    We buy no-salt-added canned tomatoes.

    Again, no complicated substitution.

    No change in how the recipe cooks.

    You are just removing another source of unnecessary sodium.

    Between eliminating the added salt and switching to no-salt-added beans and tomatoes, you have already taken a huge amount of sodium out of the original dish.

    What About the Cheese?

    This is where our family handles things a little differently.

    The original recipe calls for 1 to 1½ cups of shredded cheese melted over the casserole.

    We don’t put the cheese into the casserole at all.

    Instead, we serve it on the side.

    Other members of my family are not sodium restricted, so if they want cheese, they can add it to their individual serving.

    Is it quite as pretty as pulling a bubbling, cheesy casserole out of the oven?

    No.

    Do I miss melted cheese?

    Of course I do.

    But it is one of those things I have mostly gotten used to giving up.

    The nice part about serving it separately is that everyone can eat the same dinner.

    I don’t need a special meal.

    The rest of the family doesn’t have to eat exactly the way I do.

    They can add cheese.

    I can skip it.

    Everybody wins.

    Our Low-Sodium Version

    Ingredients

    • 2 medium bell peppers, chopped
    • 1 medium onion, chopped
    • 2 tablespoons olive oil, divided
    • 1 teaspoon black pepper, divided
    • ½ teaspoon red pepper flakes, optional
    • 1 teaspoon garlic powder
    • 2 teaspoons chili powder
    • 1 teaspoon cumin
    • ½ teaspoon paprika
    • 4 cups cooked rice or quinoa
    • 1 can no-salt-added black beans, drained
    • 2–3 cups cooked shredded or chopped no-salt-added grilled chicken
    • 2 cans no-salt-added tomatoes
    • Shredded cheese, optional, served separately

    No added salt.

    How We Make It

    Heat 1 tablespoon of olive oil in a large pot or Dutch oven over medium heat.

    Add the onion and some of the black pepper. Cook for a few minutes until the onion starts to soften.

    Add the bell peppers, remaining pepper, red pepper flakes if using, and garlic powder.

    Cook until the peppers begin to soften.

    Add the remaining tablespoon of olive oil and the cooked rice or quinoa.

    Cook for a few minutes, stirring occasionally.

    Add the no-salt-added black beans, cooked chicken and no-salt-added tomatoes.

    Then add the chili powder, cumin and paprika.

    Stir everything together and cook until completely heated through.

    That’s it.

    Since we don’t put cheese over the top, there is no need for us to broil the casserole afterward.

    If other family members want cheese, they add it to their individual serving.

    How Much Sodium Did We Remove?

    The original recipe lists about 1,046 mg of sodium per serving, based on six servings.

    The first thing we eliminate is the 1½ teaspoons of added salt.

    A teaspoon of table salt contains roughly 2,300 mg of sodium, so removing 1½ teaspoons eliminates about 3,450 mg of sodium from the entire dish.

    Then we replace regular canned beans with no-salt-added beans.

    We replace regular canned tomatoes with no-salt-added tomatoes.

    And I leave the cheese off my serving.

    At that point, most of the remaining sodium is coming naturally from ingredients such as the chicken and vegetables, plus whatever small amounts may naturally occur in the other ingredients.

    The exact sodium will depend on the brands you use and how your chicken was prepared, so always check your own labels.

    But compared with the original version, this is a dramatically different meal.

    This Makes a Lot of Food

    One warning.

    This recipe makes a lot.

    The original recipe is listed as six servings, and I believe it.

    My problem is that I tend to overeat every time we make it.

    It’s one of those meals where you finish your bowl and think:

    Maybe just a little more.

    Then a little more turns into another serving.

    So apparently my biggest problem with this casserole is no longer sodium.

    It’s portion control.

    I’ll take that problem.

    Why I Like Recipes Like This

    This is exactly the type of low-sodium cooking that works for me.

    I don’t want every meal to feel like something was taken away.

    I would rather start with a recipe we already enjoy and figure out where the sodium is coming from.

    Sometimes the solution is surprisingly simple.

    Remove the salt.

    Buy the no-salt-added version of canned ingredients.

    Put higher-sodium toppings on the side.

    Use spices for flavor.

    You don’t necessarily have to reinvent the entire meal.

    Sometimes you just need to change the parts that are causing the problem.

    And this one is staying in our regular rotation.

    Recipe Credit

    This recipe was adapted from the One Pot Mexican Rice Casserole by Luci’s Morsels. I modified the recipe to fit the way my family cooks and to significantly reduce the sodium.

    Medical & Nutrition Disclaimer

    This recipe reflects how I personally reduce sodium in meals as part of the dietary plan developed for my health needs. It is not medical or nutritional advice. Sodium needs vary depending on individual health conditions, medications and guidance from healthcare professionals. Nutrition values can also vary significantly based on ingredient brands, serving sizes and preparation methods. Always check product labels and follow the dietary recommendations provided by your own healthcare team.

  • Crispy Lower-Sodium Chicken Tenders

    Crispy Lower-Sodium Chicken Tenders

    Chicken tenders are one of those foods that don’t exactly scream low sodium.

    Between the seasoning, breading and whatever you’re dipping them into, sodium can add up pretty quickly.

    But this is another one of those recipes where I’ve found that a couple of really simple changes can make a big difference without ruining the food.

    The original recipe comes from Spend With Pennies:

    Crispy Oven-Baked Chicken Tenders – Spend With Pennies

    I make two main changes.

    Leave out the added salt and replace the cornflake crumbs with more Panko.

    That’s pretty much it.

    And they’re still crispy, flavorful and really good.

    Change #1: I Leave Out the Salt

    The original recipe uses both seasoned salt and regular salt in different parts of the breading and seasoning process. 

    I leave both out.

    There’s already paprika, garlic powder and black pepper in the recipe, so there’s plenty of flavor going on without the added salt.

    And if we want a little more kick?

    Cayenne pepper.

    We do that all the time.

    You don’t need much. Just enough to give the tenders a little heat.

    That’s something I’ve learned since dramatically reducing the sodium in my diet: taking away salt doesn’t mean taking away seasoning.

    There are plenty of other flavors to work with.

    Change #2: Goodbye Cornflakes, Hello Panko

    This is the other big change I make.

    The original recipe calls for 1 cup of cornflake crumbs and 1 cup of Panko breadcrumbs.

    Instead, I skip the cornflake crumbs completely and use additional Panko.

    The reason is simple:

    Sodium.

    The cornflake crumbs I’ve looked at contain considerably more sodium than the Panko I use. That’s one of those places where reading the nutrition label really pays off.

    With the products I buy, the Panko is only around 25–35 mg of sodium per cup, while the cornflake crumbs I compared were around 250 mg for just 6 tablespoons.

    Brands vary, so definitely check the package you’re actually buying.

    But for me?

    Panko wins.

    And here’s the best part:

    I don’t feel like I’m sacrificing the crunch.

    In fact, the original Spend With Pennies recipe specifically lists doubling up on Panko as an alternative if you don’t use cornflakes. 

    So I simply use 2 cups of Panko instead of 1 cup Panko + 1 cup cornflake crumbs.

    Easy.

    Still Plenty of Crunch

    This was important to me.

    I don’t want a “healthy chicken tender” that’s basically a sad piece of chicken with some wet breadcrumbs hanging off it.

    I want crunch.

    And the Panko does the job.

    The paprika, garlic powder and black pepper give the coating flavor. Add some cayenne if you want some heat.

    The result is still a crispy chicken tender—just without the added salt and higher-sodium cornflake coating I don’t need.

    Oven or Air Fryer?

    We make these both ways.

    Sometimes they go into the oven.

    Our oven actually has an air-fryer setting, which works pretty well when we’re making a larger batch.

    But if I’m choosing purely based on the finished chicken?

    The countertop air fryer wins.

    I think it does a better job of getting them crispy.

    The downside is capacity.

    I can fit a lot more chicken in the oven than I can in the air-fryer appliance, so which one we use usually depends on how much we’re making.

    The original recipe calls for baking at 425°F for about 18–22 minutes. It also provides an air-fryer option of 350°F for about 10–12 minutes, cooking the tenders in a single layer. Chicken should reach a safe internal temperature of 165°F

    The Air Fryer Really Wins the Next Day

    There’s one place where I don’t even think it’s a contest.

    Leftovers.

    Chicken tenders reheated in the microwave?

    Eh.

    They’ll get hot.

    But crispy?

    Not so much.

    Put them back in the air fryer and they come back to life.

    The original recipe also recommends the air fryer or oven for reheating if you want to preserve the crunch. 

    It’s one of my favorite uses for the air fryer.

    And We Already Have the Dipping Sauce

    Remember the Homemade Low-Sodium Arby’s-Style Sauce we made?

    This is exactly the kind of thing I make it for.

    Crispy chicken tender.

    Little bit of that sweet and tangy sauce.

    Done.

    And because I modified the sauce too, I’m not taking all the sodium I removed from the chicken and dumping it right back onto the plate through the dipping sauce.

    That would kind of defeat the purpose.

    How Much Sodium Does This Save?

    The original Spend With Pennies recipe currently lists 865 mg of sodium per serving, although the site correctly notes that nutrition information is an estimate and varies depending on ingredients and brands. 

    I’m not going to claim an exact sodium number for my version without calculating every specific brand and the amount of breading that actually ends up on the chicken.

    But we’re removing two significant sources:

    No added salt or seasoned salt.

    No cornflake crumbs.

    Then we’re replacing those cornflake crumbs with the much lower-sodium Panko that I buy.

    That makes this a significantly lower-sodium alternative based on the ingredients I use, while still giving me the chicken tenders I actually want to eat.

    And as always…

    Lower sodium doesn’t mean I should eat the entire tray.

    Although with these, I’ll admit that’s easier said than done.

    ❤️ Greg’s Take

    This is exactly the kind of recipe modification I love.

    I’m not making some completely different meal and pretending it’s a chicken tender.

    It’s still a chicken tender.

    It’s crispy.

    It’s seasoned.

    I can add cayenne when I want some heat.

    I can throw the leftovers in the air fryer the next day and crisp them right back up.

    And I’ve eliminated ingredients that were adding sodium without giving me anything I couldn’t get another way.

    That’s really becoming my approach to low-sodium cooking:

    Don’t automatically give up the food.

    Look at the recipe.

    Look at the labels.

    Figure out where the sodium is coming from.

    And then ask:

    Can I change that ingredient without ruining what I actually like about the food?

    In this case?

    Absolutely.

    Panko for the crunch. Spices for the flavor. No added salt needed.


    Original Recipe

    This recipe is my lower-sodium adaptation of the Baked Chicken Tenders recipe by Holly Nilsson at Spend With Pennies. For the original ingredients and complete preparation instructions:

    View the original Baked Chicken Tenders recipe at Spend With Pennies

    Medical & Nutrition Disclaimer

    This article describes how I personally modify recipes to reduce sodium in my diet. It is not medical or nutritional advice. Sodium content varies considerably between brands, so always check the nutrition labels on the ingredients you actually use. Follow any dietary recommendations provided by your own healthcare team.

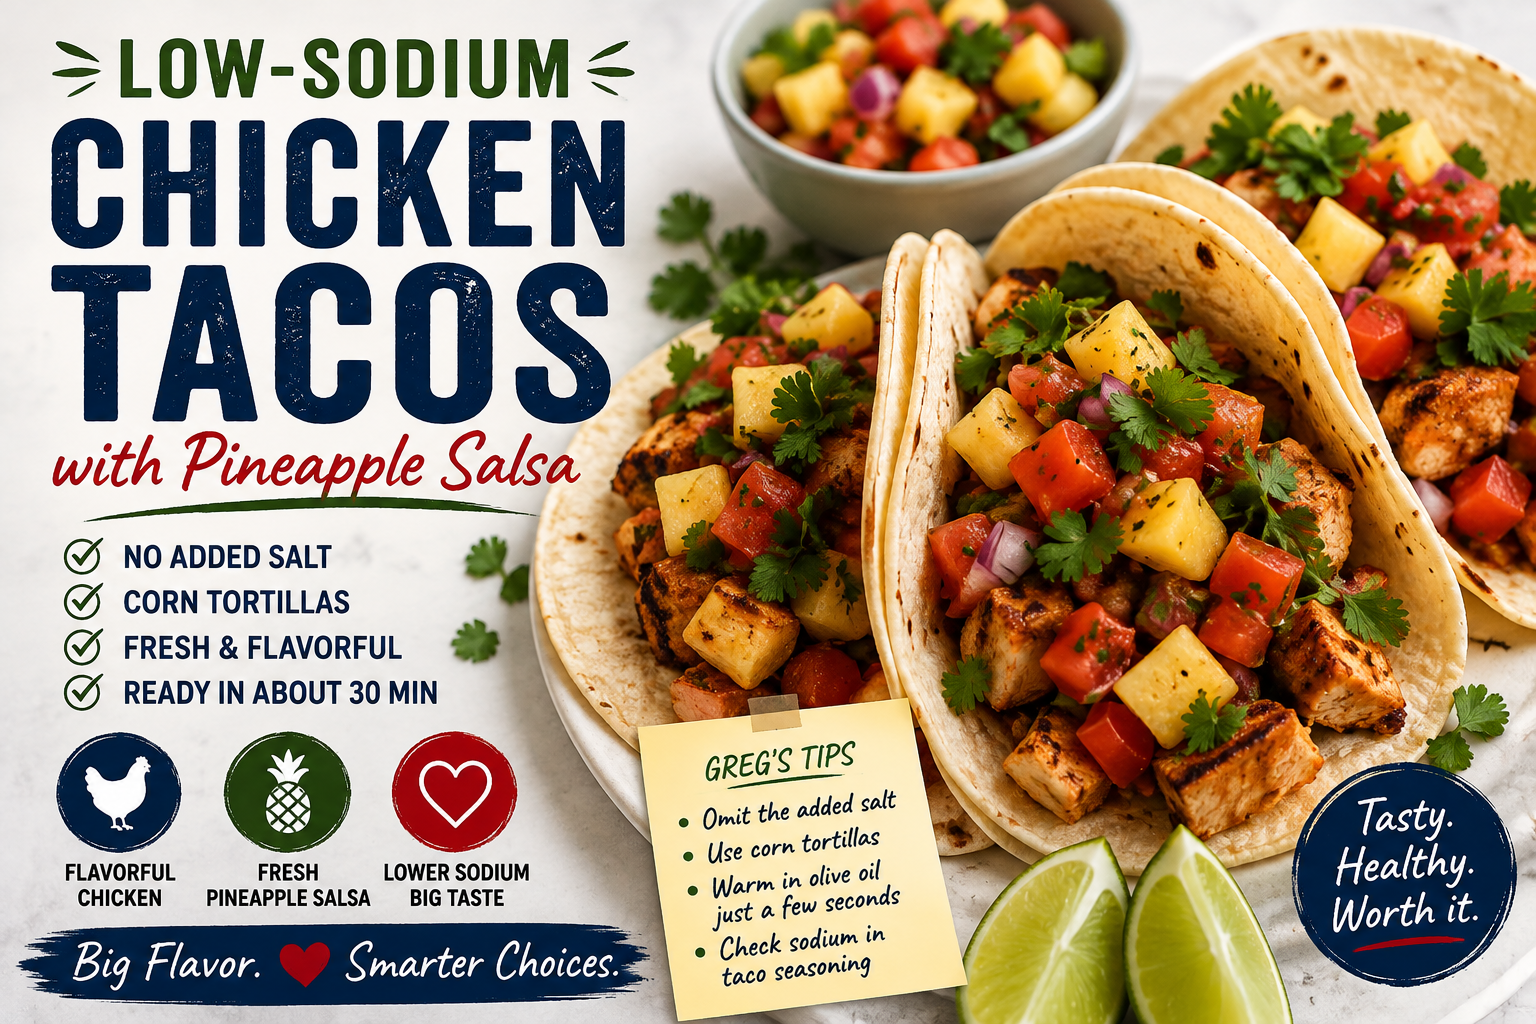
  • Low-Sodium Chicken Tacos with Pineapple Salsa

    Low-Sodium Chicken Tacos with Pineapple Salsa

    These tacos are dangerously good.

    And by dangerously good, I mean I used to have a serious problem understanding when taco night was supposed to end.

    I’ve gotten much better about portion control since then.

    The original recipe comes from Jessica Gavin’s Chicken Tacos with Pineapple Salsa, and it’s one we’ve made many times. It combines seasoned chicken with fresh pineapple salsa and warm tortillas, and the whole recipe can come together pretty quickly. 

    View the Original Chicken Tacos with Pineapple Salsa Recipe

    I’ve made a few changes over time to reduce the sodium and make the recipe a little easier for us to prepare.

    The First Thing I Do: Leave Out the Salt

    The original chicken marinade calls for ¾ teaspoon of kosher salt along with lime, honey, cumin, chili powder, paprika, onion powder, garlic powder, black pepper, oregano and optional cayenne. 

    I simply leave the salt out.

    All of it.

    There’s already so much flavor coming from everything else that I don’t think these tacos need the added salt.

    The lime brings acidity. The cumin, chili powder and paprika bring plenty of flavor. Then there’s garlic, onion, oregano, black pepper and a little cayenne if you want some heat.

    I don’t miss the salt.

    That’s something I’ve learned since changing the way I cook. Sometimes salt is doing most of the work in a recipe.

    Other times?

    It’s just along for the ride.

    This is one of those recipes where I think it can stay home.

    My Shortcut for Preparing the Chicken

    The original recipe calls for slicing chicken breasts into thinner cutlets and pounding them to an even thickness before marinating them. This helps the chicken cook evenly. 

    When I’m in a hurry, I’ll sometimes buy chicken tenderloins instead.

    That saves me from having to slice a large chicken breast into cutlets. I put the tenderloins between plastic or inside a resealable bag and use a meat tenderizer to flatten them.

    It’s a simple shortcut that saves me some work.

    And yes, I have a meat tenderizer specifically for this.

    I use it for this recipe and anytime I need to get chicken to a relatively even thickness.

    Just remember: I’m trying to flatten the chicken.

    I’m not trying to punish it for something it did.

    Let the Marinade Do Its Thing

    Once the chicken is flattened, it goes into the marinade.

    The original recipe recommends marinating it for at least 20 minutes, with the option of preparing it farther in advance. 

    The only significant change I make to that marinade is leaving out the added salt.

    Then I cook the chicken until it reaches a safe internal temperature of 165°F, let it rest and cut it into pieces for the tacos. 

    Don’t Forget the Pineapple Salsa

    The pineapple salsa is one of the best parts.

    The original combines pineapple, tomato, red onion, jalapeño, lime and cilantro. 

    You get sweet from the pineapple, some heat from the jalapeño, acidity from the lime and freshness from everything else.

    Pile that on top of the seasoned chicken and you really don’t need salt to make these tacos interesting.

    There’s already plenty happening.

    Watch the Tortillas

    This is another place where I’ve learned to read the nutrition label.

    I use corn tortillas rather than flour tortillas.

    Some flour tortillas can contain a surprising amount of sodium depending on the brand, variety and size. I’ve personally found some around 400 mg of sodium per tortilla.

    That’s a lot when you consider that you’re probably not eating just one taco.

    So don’t assume tortillas are low in sodium simply because they don’t taste salty.

    Turn the package over and read the label.

    These are the corn tortillas I currently use:

    See the Corn Tortillas I Buy at Walmart

    I still check the nutrition information when I buy them because recipes and nutrition information can change.

    A Few Seconds in the Pan

    I like my tortillas warmed in a skillet with a little olive oil.

    They don’t need much.

    The original recipe recommends warming the tortillas for only about 10–15 seconds per side

    That’s about what I do.

    A few seconds on one side.

    Flip.

    A few seconds on the other.

    Done.

    Don’t walk away and start checking Facebook.

    We’re talking seconds here, not minutes.

    Then Into the Tortilla Warmer

    Once I’ve warmed the tortillas, I don’t want the first ones getting cold while I’m finishing the rest.

    That’s where another little kitchen gadget comes in handy:

    our tortilla warmer.

    I put the warmed tortillas inside, close it up and keep them there until we’re ready to assemble the tacos.

    It’s certainly not something you need to make this recipe.

    But it’s one of those inexpensive kitchen tools that makes taco night a little easier, especially when you’re preparing several tortillas at once.

    Warm chicken.

    Fresh pineapple salsa.

    Warm tortillas.

    Now we’re ready.

    Be Careful With the Taco-Seasoning Shortcut

    The original recipe also suggests using taco seasoning as an alternative when you’re short on time. 

    That’s certainly an option.

    But if you’re watching your sodium, check the package first.

    Taco seasoning is another place where sodium can sneak into a meal quickly, and the amount can vary substantially between products.

    Don’t assume.

    Read the serving size.

    Read the sodium.

    And pay attention to how much seasoning you’re actually using.

    You could also make your own salt-free taco seasoning and control exactly what goes into it.

    That’s probably another recipe I need to add to the site.

    And Then There’s Portion Control…

    Remember when I said these tacos are dangerously good?

    I wasn’t kidding.

    I used to eat a lot of them.

    I’ve gotten much better about that.

    One of the biggest lessons I’ve learned is that making something lower in sodium doesn’t magically turn it into an unlimited food.

    There are still tortillas.

    There are still carbohydrates.

    There are still calories.

    And there’s still the small problem that I could probably keep eating these until somebody physically removes the plate from the table.

    So now I pay attention to how many I’m eating.

    Low sodium doesn’t mean unlimited.

    Funny how that article keeps finding its way into my recipes.

    ❤️ Greg’s Take

    This is exactly the kind of recipe that convinced me low-sodium food doesn’t have to taste like punishment.

    I didn’t completely reinvent it.

    I didn’t replace fifteen ingredients.

    I made a few simple changes.

    Leave out the ¾ teaspoon of salt.

    Choose a lower-sodium corn tortilla.

    Pay attention to the sodium if you’re using packaged taco seasoning.

    That’s basically it.

    The chicken still has lime, cumin, chili powder, paprika, garlic, onion, oregano and cayenne.

    Then you pile fresh pineapple salsa on top.

    There’s plenty happening in that taco.

    And I’ve found a few ways to make preparing them easier too. Chicken tenderloins and my meat tenderizer save me some prep work, and the tortilla warmer keeps everything warm while I finish cooking.

    Quick, flavorful and something I actually look forward to eating.

    The only thing I haven’t found a good kitchen gadget for is self-control.

    I’m still looking for that one on Amazon.


    Recipe Credit

    This is my lower-sodium adaptation of Jessica Gavin’s Chicken Tacos with Pineapple Salsa. Her original recipe, complete ingredient measurements and preparation instructions are available on her website. 

    View the Original Recipe at Jessica Gavin

    I omit the added salt, use the corn tortillas I prefer and make a few preparation changes based on how we cook the recipe at home.


    Affiliate Disclosure

    This article contains Amazon affiliate links. If you purchase something through one of these links, I may earn a small commission at no additional cost to you. I personally use the products I’ve linked in this article and am sharing them because they’ve been useful in my own kitchen. Purchasing through my links helps support He’s Knocking on My Door and allows me to continue creating content.

    Medical Disclaimer

    This article describes how I personally modify recipes to fit the way I eat. It is not medical or nutritional advice. Individual dietary needs vary, particularly for people managing conditions that affect sodium, carbohydrates, potassium or other nutrients. Always check the nutrition labels on the specific ingredients you use and follow the dietary guidance provided by your healthcare team.